What Cleans Headlights On a Car: Best DIY Methods 2026
You can clean cloudy or yellowed car headlights using household items like baking soda, vinegar, and toothpaste, or dedicated products like headlight restoration kits and plastic polish for a like-new finish.
If you've ever driven at night and felt like your headlights were barely glowing, you already know how frustrating cloudy lenses can be. Over the years, I've restored dozens of headlights on everything from old pickup trucks to newer sedans, and I can tell you this: the right cleaning method makes a world of difference, not just in appearance, but in actual night-time visibility and safety.
Why Headlights Get Cloudy and Yellow
Before jumping into what cleans headlights, it helps to understand why they get dirty in the first place. Most modern headlights are made of polycarbonate plastic, which is strong and lightweight but also porous at a microscopic level.
Here are the main culprits behind foggy headlights:
- UV exposure that breaks down the outer protective coating
- Road grime, bugs, and tar that bake into the surface
- Oxidation from moisture and oxygen
- Chemical exposure from car wash detergents and acidic rain
- Age and heat cycling from the bulb itself
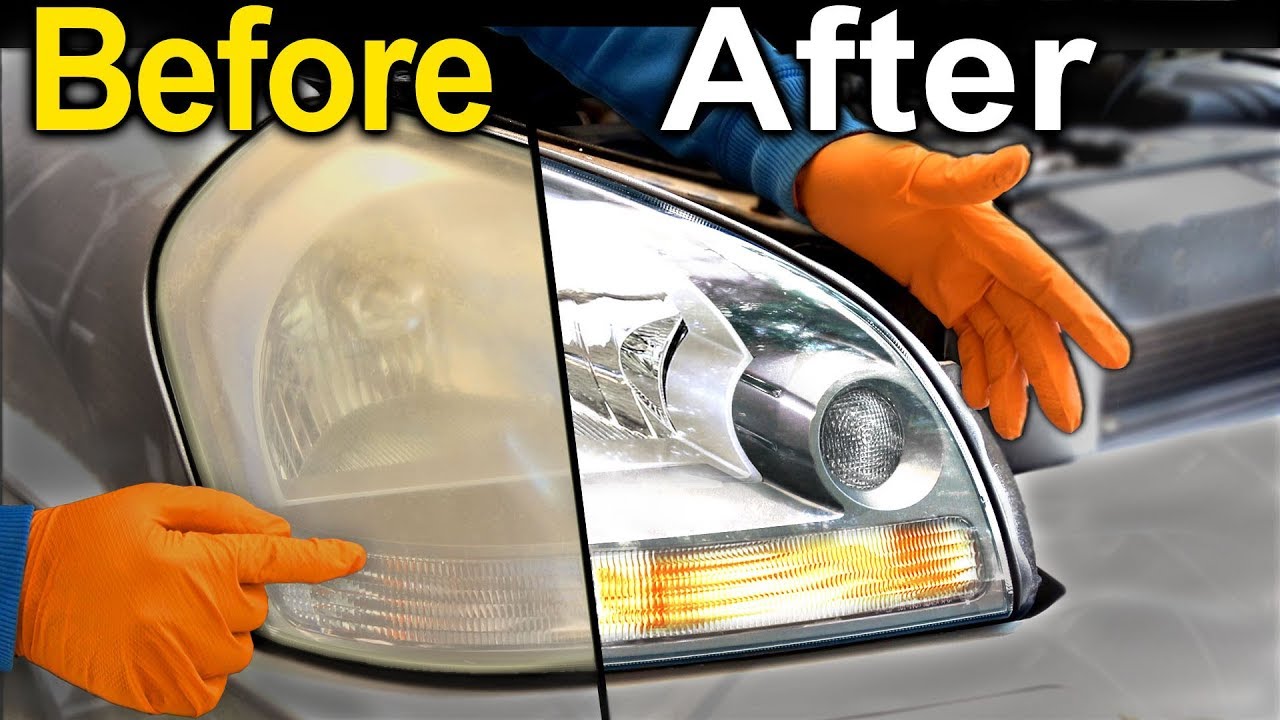
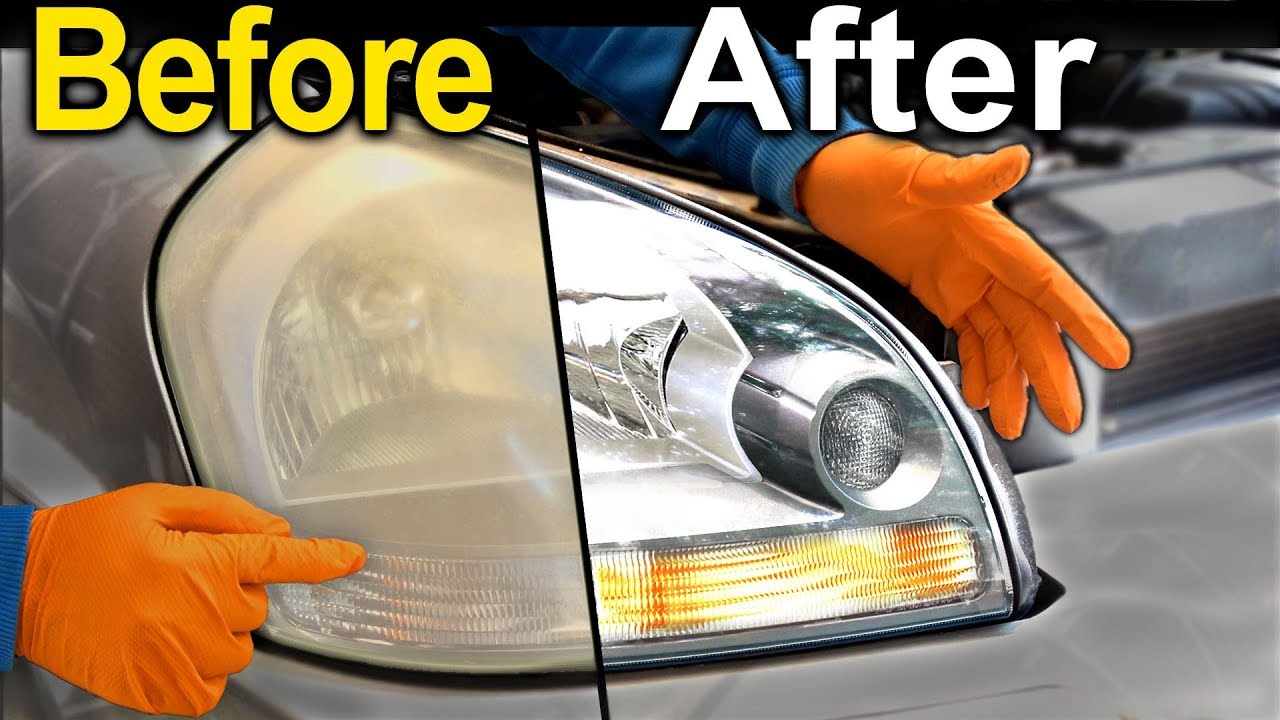
When the factory clear coat wears off, the plastic begins to oxidize, turning yellow, hazy, and rough. That haze isn't just cosmetic. It can block a huge percentage of your headlight's light output.
Household Items That Clean Headlights
You don't always need a fancy product to get the job done. I've personally tested a bunch of DIY methods, and some work shockingly well for mild to moderate oxidation.
Baking Soda and Vinegar Paste
This is the classic DIY combo. Mix two parts baking soda with one part white vinegar to form a thick paste. Apply it with a soft cloth, scrub in circular motions for a few minutes, then rinse clean.
- Best for light cloudiness and surface grime
- Mild abrasive action lifts oxidation without scratching
- Inexpensive and safe for most plastic lenses
Regular Toothpaste (Not Gel)
Plain white toothpaste acts like a very fine polishing compound. Use a damp cloth to rub it onto the headlight in small circles. Let it haze over, then buff it off with a clean microfiber cloth.
- Contains mild abrasives like silica
- Works well on minor yellowing
- A great quick fix before a car show or inspection
Lemon Juice and Baking Soda
If vinegar isn't your thing, lemon juice works similarly. The acid helps break down oxidation while the baking soda provides gentle scrubbing power.
- Smells better than vinegar
- Great for one-headlight-at-a-time spot cleaning
- Safe on clear plastic when used gently
Dish Soap and Warm Water
Sometimes your headlights aren't oxidized, just dirty. A thorough wash with dish soap, warm water, and a microfiber mitt can restore clarity instantly.
- Good first step before any deeper cleaning
- Removes bugs, road film, and waxy buildup
- Should be part of every headlight cleaning routine
Commercial Products Made for Headlight Restoration
For tougher oxidation or a longer-lasting fix, dedicated headlight cleaners and restoration kits are the way to go. These are designed specifically for polycarbonate plastic and often include sealants.
Headlight Restoration Kits
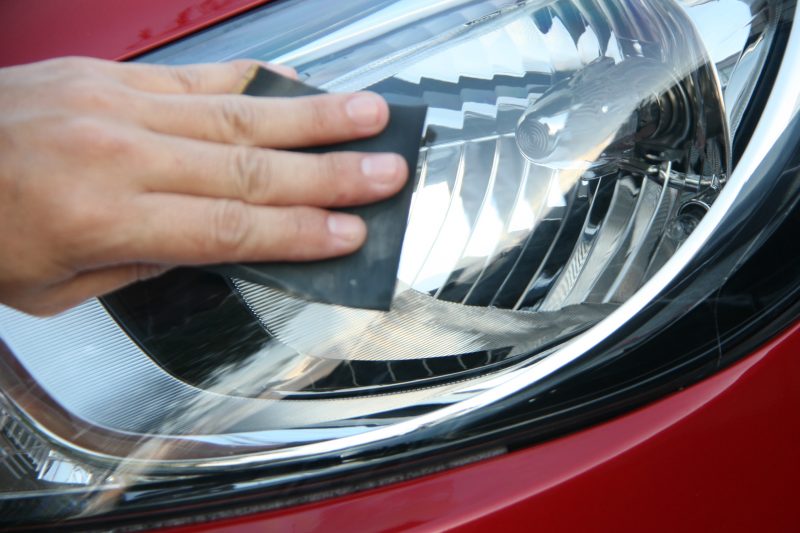
These kits typically come with sandpaper in various grits, polishing compound, and a UV-resistant sealant. The process usually involves wet sanding the lens, polishing it smooth, then sealing it to prevent future yellowing.
- Best for severely oxidized or yellowed headlights
- Results can last 1 to 3 years with proper sealing
- Most kits cost between 10 and 30 dollars
Plastic Polish and Compound
Products like Meguiar's PlastX, Novus Plastic Polish, or similar compounds are formulated for clear plastics. They remove fine scratches and oxidation while leaving a glossy, protected finish.
- Easy to apply by hand or with a polisher
- No sanding required for mild cases
- Works on motorcycle windscreens and taillights too
Spray-On Headlight Cleaners
These are quick-detail-style products you spray on, wipe off, and buff. They're great for maintenance between deeper restorations.
- Perfect for monthly upkeep
- Adds a layer of UV protection
- Won't fix heavy oxidation but prevents it
Ceramic Coating for Headlights
If you really want to go all-in, some people apply a small amount of ceramic coating to their headlights after restoration. It bonds to the plastic and provides long-term UV protection.
- Hydrophobic surface repels water and dirt
- Lasts much longer than traditional sealants
- A bit more expensive but worth it for daily drivers
Step-by-Step Process for Deep Headlight Cleaning
If your headlights are heavily oxidized, here's the method I recommend for the best results. I used this exact process on a 2011 Toyota Corolla last summer, and the lenses looked brand new afterward.
- Wash the headlight with soap and water to remove loose dirt
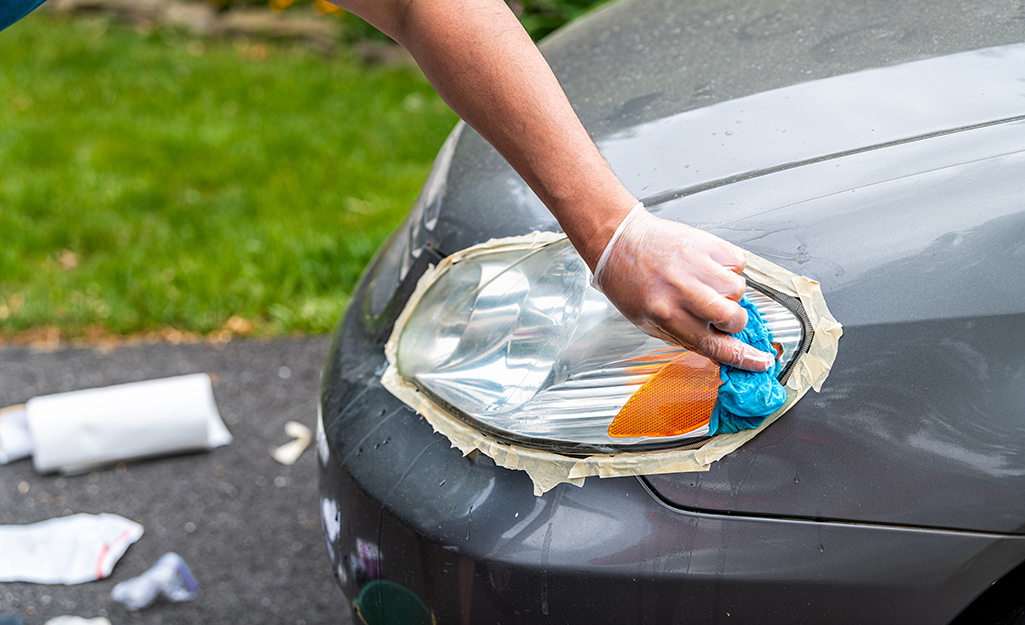
- Tape off the surrounding paint with painter's tape to protect it
- Wet sand with 1000-grit sandpaper in straight, horizontal strokes
- Repeat with 2000-grit, then 3000-grit for a smoother finish
- Wipe the lens clean and dry it completely
- Apply plastic polish with a foam applicator pad
- Buff the polish off with a clean microfiber cloth
- Apply a UV sealant or ceramic coating to protect the finish
- Remove the tape and admire your work
The whole process takes about 45 minutes per headlight, but the results can easily last 2 to 3 years if you keep up with maintenance.
Common Mistakes to Avoid When Cleaning Headlights
I've seen people damage their headlights by going too aggressive, too fast. Here are the pitfalls to watch out for.
- Using rough scrubbing pads that scratch the plastic
- Skipping the UV sealant after cleaning
- Using acetone or harsh solvents that damage the lens
- Cleaning in direct sunlight, which causes products to dry too fast
- Skipping grit levels during wet sanding, leading to uneven finishes
Take your time, use the right materials, and you'll avoid cloudy spots, streaks, and even worse haze than you started with.
How to Keep Headlights Clean Longer
Once you've gone through the effort of cleaning, you'll want to keep them looking great. A little maintenance goes a long way.
- Park in the shade or use a car cover when possible
- Wash your headlights every time you wash the car
- Apply a UV protectant spray every few months
- Avoid touching the lenses with dirty hands
- Consider headlight protection films for high-UV areas
Think of it like sunscreen for your car's eyes. A little protection now saves a lot of work later.
The Best Cleaner Based on Your Situation
Not every method is right for every car. Here's a quick breakdown to help you choose.
- If you need a quick fix, toothpaste or baking soda paste works
- If oxidation is moderate, plastic polish is your best bet
- If headlights are severely yellowed, a restoration kit is the way to go
- If you want long-term results, finish with a UV sealant or ceramic coat
- If you're prepping a car for sale, a full restoration adds curb appeal fast
I've done the cheap DIY methods, and I've done the full professional-style restorations. Both have their place. The key is matching the method to the level of damage.
Frequently Asked Questions
Can I use WD-40 to clean headlights?
WD-40 can help remove light grime and add a temporary shine, but it won't fix oxidation or yellowing. It's not a substitute for proper cleaning or restoration.
Is it safe to use magic erasers on headlights?
Magic erasers are mildly abrasive and can clean surface dirt, but they can also dull the plastic and remove any protective coating. Use them cautiously and only for spot cleaning.
How often should I clean my car headlights?
A quick wipe-down every wash is ideal, while a deeper cleaning or restoration should be done every 1 to 2 years depending on your climate and sun exposure.
Can I wax my headlights like regular paint?
You can apply car wax to headlights for short-term UV protection, but dedicated plastic sealants work better and last longer on polycarbonate lenses.
Will headlight restoration improve night visibility?
Absolutely. Even mildly cloudy headlights can reduce light output by 30 percent or more. Restoration can restore near-original brightness and dramatically improve nighttime driving safety.
Conclusion
Clean headlights aren't just about looks, they're a real safety feature that helps you see and be seen at night. Whether you go with a simple baking soda paste, a bottle of plastic polish, or a full restoration kit, the important thing is to actually do it. Pick the method that matches your headlights' condition, take your time, and protect the lenses once they're clean. A little effort now means better visibility, a sharper-looking car, and one less thing to worry about on your next night drive. Got questions or your own favorite headlight cleaning trick? Drop a comment below, I'd love to hear what has worked for you.