How To Use A Steam Cleaner: Pro Tips For 2026
A steam cleaner works by heating water into high-pressure steam that loosens dirt, kills germs, and sanitizes surfaces without harsh chemicals. If you want a home that feels truly clean, not just surface shiny, mastering this one tool can change your whole cleaning routine.
Think of a steam cleaner as the gentle giant of household cleaning. It uses only water, yet it powers through grease, soap scum, and even hidden bacteria in places you forgot existed. I have tested handheld units on bathroom tiles, full-size canister steamers on living room rugs, and everything in between. Some worked like magic, while others taught me what not to do the hard way. In this guide, I will walk you through the entire process step by step so you get safe, streak free, and deeply sanitized results on your first try.
Getting to Know Your Steam Cleaner
Before you press the power button, it helps to understand what makes a steam cleaner tick. Most models share a few basic parts: a water tank, a heating element, a boiler, and a set of attachments. When you fill the tank and switch the unit on, the heater warms the water until it becomes vapor. That vapor rushes out under pressure through a nozzle or microfiber pad.
There are several main types you will come across:
- Handheld steam cleaners for small jobs like grout, faucets, and window tracks.
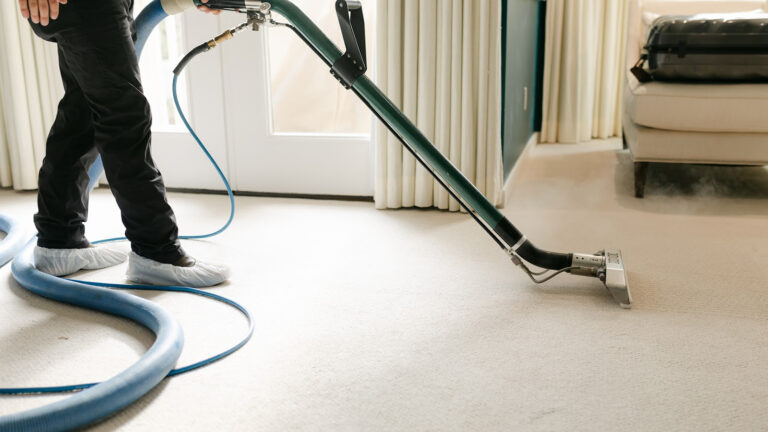
- Canister or upright steam mops for floors and large flat areas.
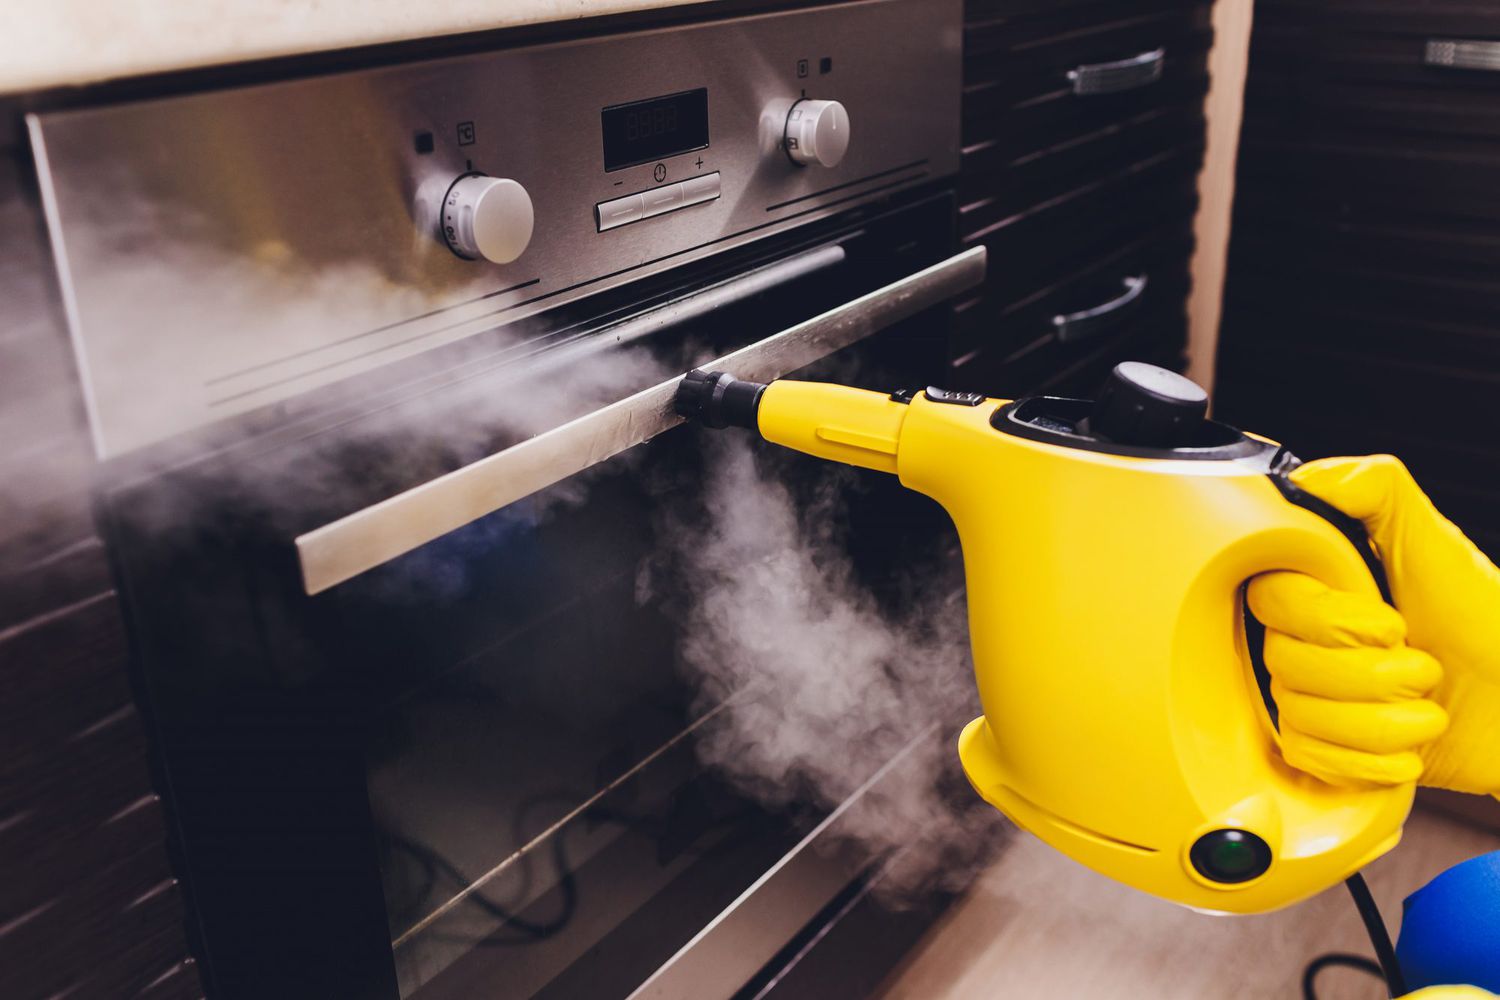
- Multipurpose steam cleaners with a long hose and brush heads for upholstery, mattresses, and even clothing.
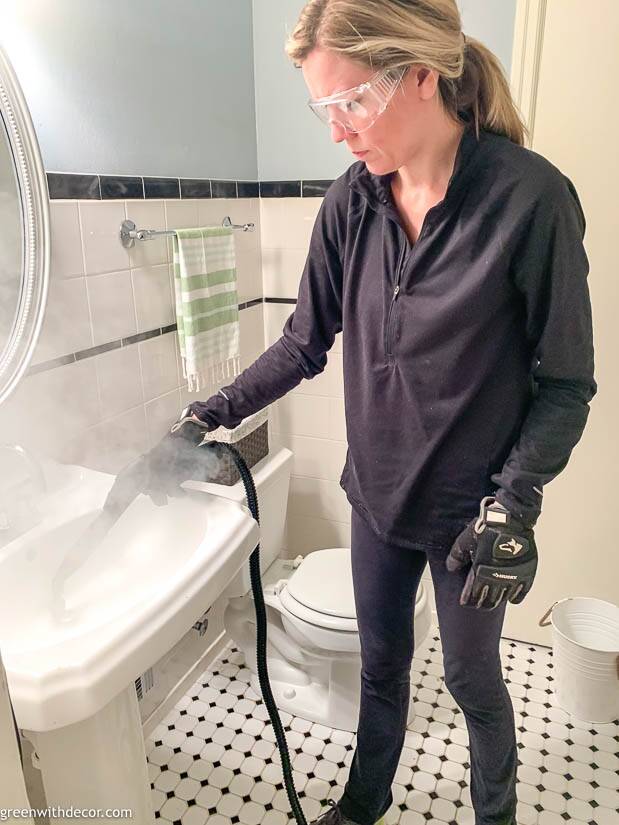
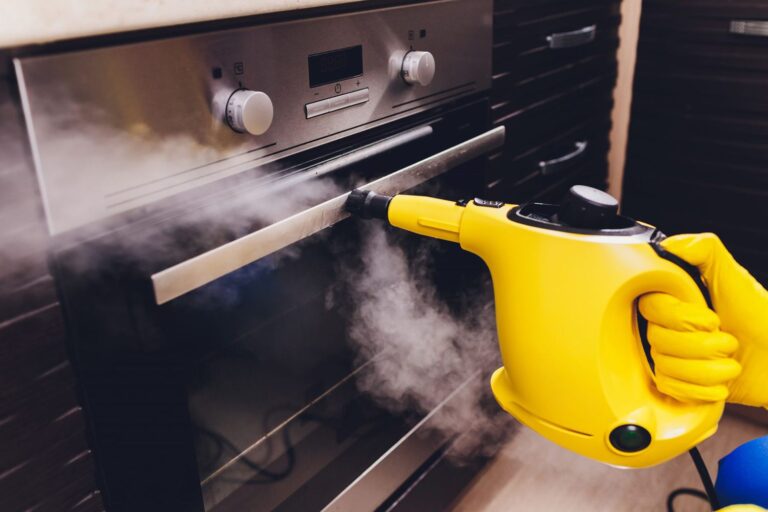
Knowing which type you own shapes everything else you do. A steam mop is perfect for sealed hardwood or tile, but a handheld model is better for the corners of your stovetop.
/how-to-use-a-steam-cleaner-GettyImages-1624861289-1a0424500c52462d86947cfae4302b8b.jpg)
What You Need Before You Start
Preparation is where most people skip steps and then wonder why their results look streaky or their machine sputters. Here is what to gather and check first:
- Distilled or filtered water to prevent mineral buildup inside the boiler.
- Clean microfiber pads or cloths suited to your machine.
- The correct attachment for each surface you plan to clean.
- A dry towel for quick drying and buffing.
Always read the manual that came with your specific model. Even experienced cleaners get surprised by safety features or tank quirks. For example, some units need a cool down period before refilling. Skipping that step is a common mistake that can shorten the life of your steamer.
Step by Step Guide on How to Use the Steam Cleaner
Follow these steps in order for the best outcome, whether you are tackling a kitchen floor or a stained couch.
Step 1: Fill the Water Tank Correctly
Remove the tank from the base if your model allows it. Fill it with distilled water up to the max line. Tap water leaves behind calcium deposits that clog the heating element over time. If you only have tap water, a simple in-line filter can help, but distilled is still the gold standard.
Secure the cap tightly. A loose cap is one of the top reasons steamers leak or lose pressure mid-clean.
Step 2: Attach the Right Tool for the Job
Slide on the nozzle, microfiber pad, or brush head that matches your task. For floors, a flat mop head with a fresh pad is ideal. For grout, a small nylon brush attachment focuses the steam into tight lines. For fabric, a wide upholstery tool spreads the heat evenly.
Make sure every attachment clicks or locks into place. A wobbly connection reduces steam flow and can leave wet spots behind.
Step 3: Power On and Wait for the Steam Ready Signal
Plug the unit in and turn it on. Most steam cleaners take anywhere from 30 seconds to 8 minutes to heat up. You will usually see a light turn green or hear a soft click when the steam is ready. Do not start cleaning before that signal. Pressing the trigger too early sends cold water droplets onto your surface, which can damage wood or leave water rings.
Step 4: Test on a Small Hidden Area First
This is the single most important habit you can build. Pick a corner or hidden edge and give it a quick pass. Wait a minute and check for discoloration, warping, or dull spots. I learned this lesson the hard way on an old oak floor that could not handle sustained heat. A quick test saved my living room from a costly mistake.
Step 5: Steam in Slow, Steady Passes
Hold the nozzle a few inches from the surface or glide the mop pad in slow straight lines. Quick zigzags spread moisture unevenly and miss spots. Let the steam do the work. If grime is stubborn, hold the steam over the area for 10 to 15 seconds before wiping.
For vertical surfaces like tile walls, start at the top and work down. Gravity helps the loosened dirt flow downward instead of streaking.
Step 6: Let Surfaces Dry and Buff if Needed
Steam leaves very little moisture, but a quick wipe with a dry microfiber cloth speeds up drying and adds a polished look. On glass or mirrors, a final buff prevents water spots. On floors, keep foot traffic off the area for at least 15 minutes so the surface can cool and finish drying.
/Bhg-how-to-use-a-steam-cleaner-hero-2811_EAI8Uwnj4CfBklxKQ771ZD-7e5d35ca0cee4bf8b295c63d5779aeb3.jpg)
Best Surfaces and Items to Steam Clean
Steam cleaning is incredibly versatile, but it shines brightest on certain jobs.
- Hard sealed floors like tile, laminate, and luxury vinyl.
- Bathroom surfaces including grout, shower doors, and toilets.
- Kitchen counters, stovetops, and range hoods.
- Upholstery, curtains, and mattress surfaces.
- Windows, mirrors, and glass tables.
- Pet toys, litter box areas, and feeding bowls.
When used correctly, steam can kill up to 99.9 percent of germs without a single chemical. That is why so many households with small children or pets rely on it daily.
Surfaces You Should Avoid
Not every material welcomes high heat and moisture. Knowing what to skip protects both your home and your machine.
- Unsealed hardwood or waxed floors that can warp or turn white.
- Laminate flooring that is not rated water resistant.
- Natural stone like marble or travertine without a sealant.
- Delicate fabrics such as silk or vintage wool.
- Electrical outlets, light fixtures, and anything plugged in.
- Painted walls with low quality paint that can bubble.
When in doubt, always test in a hidden spot. The five seconds you spend testing can save you hours of repair.
Pro Tips From Real Cleaning Experience
After years of testing steam cleaners in apartments, family homes, and even a small café, a few habits always stand the test of time:
- Pre vacuum or sweep before steaming. Steam pushes loose dirt around rather than picking it up.
- Swap microfiber pads often. A dirty pad just smears grime.
- Use distilled water even if the manual says tap is fine. Your heating element will thank you.
- Empty the tank after each use to prevent stale water and odors.
- Store the machine with the cap loose so any leftover moisture can evaporate.
- For tough grout, attach a small round brush and move in gentle circles after steaming.
- To freshen a mattress, go over it slowly with the upholstery tool. The steam kills dust mites and lifts odors at the same time.
One personal favorite trick is using the detail nozzle on window tracks. A single pass melts years of dust and pollen into a wipe away mess. It feels almost too easy.
Cleaning and Maintaining Your Steam Cleaner
A steam cleaner that you care for will last years longer than one you toss in a closet still damp.
- After each use, empty any remaining water and wipe the tank dry.
- Wash microfiber pads in fragrance free detergent. Avoid fabric softener because it coats the fibers and reduces absorbency.
- Once a month, run a descaling cycle with white vinegar or the maker recommended solution to clear mineral buildup.
- Check nozzles and brushes for clogs. A toothpick or pin clears most blockages.
- Store attachments together in a small basket so nothing gets lost.
If you notice longer heat up times, weak steam, or sputtering, those are usually signs of scale inside the boiler. A quick descale often brings the machine back to full power.
:max_bytes(150000):strip_icc()/GettyImages-1219641454-2000-2a52e29d91ad4e8da374d59afc0de939.jpg)
Safety Tips You Should Never Skip
Steam is far safer than most chemical cleaners, but it is still hot enough to burn skin or damage surfaces.
- Never point the nozzle at yourself, another person, or a pet.
- Keep the cord behind you so you do not trip over it.
- Wear closed toe shoes, especially when cleaning floors.
- Do not overfill the tank past the max line.
- Allow the machine to cool fully before refilling or storing.
- Keep children and pets in another room while the steamer is in use.
- Never add cleaning solutions, bleach, or anything other than water to a standard steam cleaner. It can damage seals and create toxic fumes.
Treat steam with the same respect you would give a hot kettle, and you will avoid almost every accident.
Frequently Asked Questions
How long does it take for a steam cleaner to heat up?
Most handheld models heat in 30 to 90 seconds. Larger canister steamers usually take 4 to 8 minutes. Always wait for the ready light or sound before you start.
Can I use tap water in my steam cleaner?
You can, but it leads to mineral buildup inside the boiler. Distilled water extends the life of the heating element and keeps steam output strong over time.
Is steam cleaning safe for pets and kids?
Yes. Since it uses only water and heat, there are no chemical residues left behind. Just make sure surfaces cool and dry before little hands or paws touch them.
How often should I descale my steam cleaner?
If you use distilled water, every two to three months is fine. With hard tap water, once a month helps prevent clogs and weak steam.
Can steam kill dust mites and bacteria?
High temperature steam above 212 degrees Fahrenheit kills most dust mites, bacteria, and common allergens on contact, which makes it a strong choice for mattresses and fabric.
Conclusion
Mastering a steam cleaner is less about owning the fanciest model and more about using the right technique. Once you prep the surface, choose the correct attachment, and let the steam do the heavy lifting, you will enjoy a deeper clean with almost no effort. Start small, test hidden spots, and build up to the bigger jobs like floors and upholstery. Your home will feel fresher, your indoor air will be cleaner, and you can finally toss half the chemical bottles under your sink. Try steam cleaning one room this week and notice the difference for yourself, then share your results in the comments below.