What Solution For Ultrasonic Cleaner: Best Guide
The best ultrasonic cleaner solution is a degasified, water-based detergent matched to the item's material — typically a neutral pH ultrasonic cleaning fluid for most metals, plastics, and electronics, with specialized formulas for medical, optical, or heavy-duty industrial use. Stick with me, because choosing the wrong solution can actually damage your parts, waste your time, and leave you wondering why your ultrasonic cleaner isn't working the way it should.
I still remember the first time I ruined a batch of vintage watch parts by tossing them into my cleaner with whatever dish soap I had under the sink. Foamy overflow, cloudy residue, and dull metal that needed hours of hand-polishing. That painful lesson taught me something most beginners never learn until it's too late: the cleaning solution matters just as much as the machine itself. After testing dozens of formulas in my own workshop and consulting with cleaning technicians across different industries, I've put together the most complete guide you'll find on choosing the right ultrasonic cleaner solution for nearly any job.
What Is an Ultrasonic Cleaner Solution?
An ultrasonic cleaner solution is a specially formulated liquid designed to work with high-frequency sound waves inside an ultrasonic cleaning tank. Unlike regular soap, it is engineered to produce millions of microscopic bubbles through a process called cavitation. These bubbles collapse with tiny but powerful bursts of energy, lifting dirt, oil, grease, and contaminants off the surface of items submerged in the bath.
Most solutions are water-based and contain surfactants, wetting agents, and sometimes enzymes or solvents. The chemistry matters because plain water doesn't reduce surface tension enough to allow cavitation bubbles to penetrate tiny crevices. A proper ultrasonic cleaning fluid lowers that tension, so the bubbles can reach every contour of the part you're cleaning.
There are three main categories of solution chemistry used in ultrasonic cleaning:
- Aqueous alkaline cleaners for metals and industrial parts
- Neutral pH solutions for delicate items, optics, electronics, and jewelry
- Specialized solvents or enzymatic detergents for medical, dental, or biological cleaning
Why the Right Solution Matters More Than the Machine
I've had readers email me frustrated because they spent $800 on a premium ultrasonic bath but their items still came out dirty. Ninety percent of the time, the problem isn't the machine — it's the solution. The fluid in your tank is the active cleaning agent. The ultrasonic waves are just the delivery system.
If your solution is too weak, cavitation bubbles won't form properly. If it's too aggressive, it can etch, pit, or corrode sensitive materials. If it foams too much, the bubbles will block the cavitation action and cause overflow. This is why serious technicians treat solution selection as a science, not a guess.
Common Solutions Used in Ultrasonic Cleaners
Distilled or Deionized Water
Plain distilled water is the foundation of most ultrasonic cleaning recipes. Tap water leaves mineral spots, scale, and residue that can damage parts over time. I always recommend starting with distilled or deionized water as your base, especially for jewelry, medical instruments, and electronics. It costs pennies per gallon and dramatically improves results.
Mild Dish Soap (Limited Use)
Yes, you can use a few drops of non-sudsing dish soap for casual cleaning of tools or hardware. It's cheap and accessible. But it foams heavily, which interferes with cavitation. In my own shop, I only use it for quick degreasing of nuts and bolts before moving to a proper detergent.
Commercial Ultrasonic Cleaning Concentrates
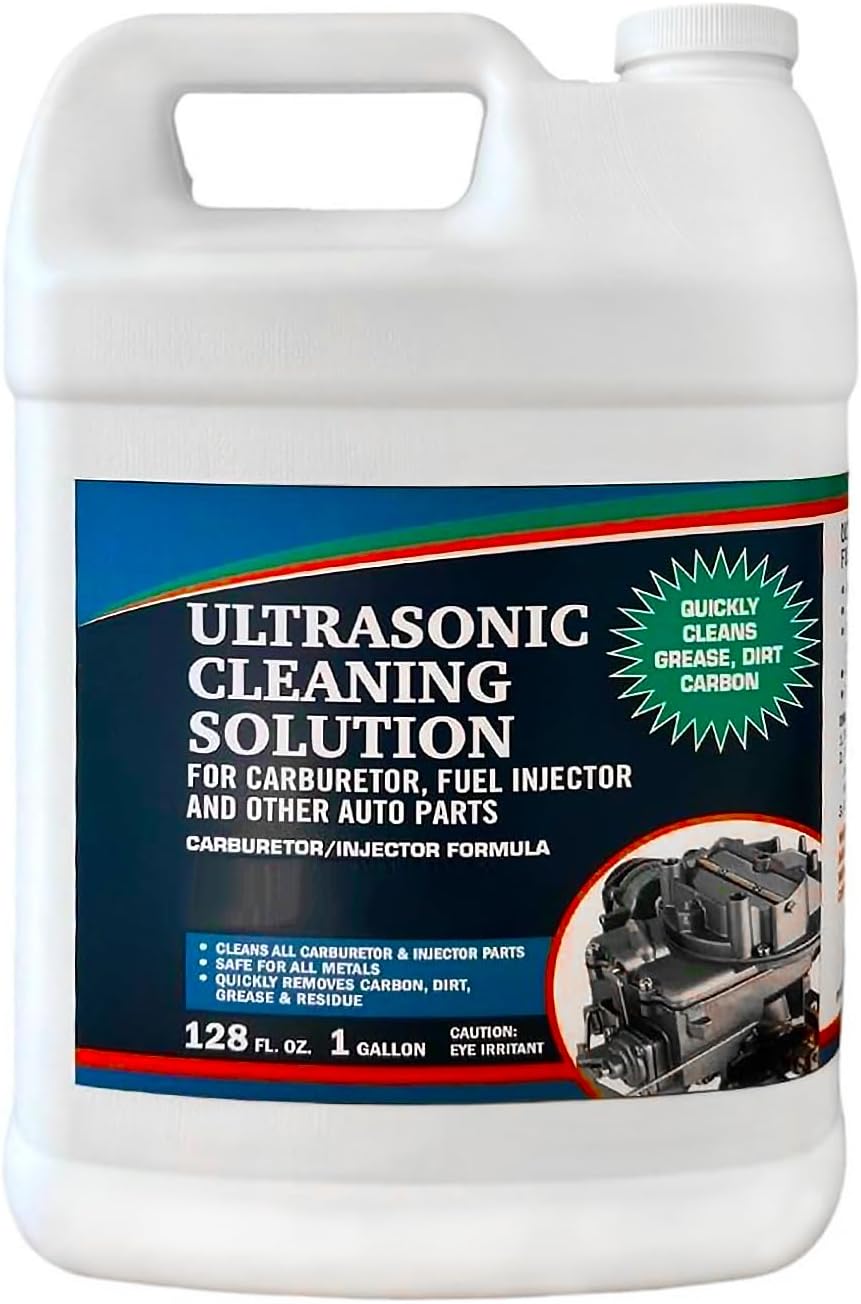
These are purpose-built solutions made for ultrasonic baths. Brands like Branson, L&R, Elma, and Simple Green offer professional-grade concentrates that mix with water at specific ratios. They come in formulas for general use, medical instruments, automotive parts, optics, and electronics. If you clean anything professionally, this is what you want.
Isopropyl Alcohol and Specialized Solvents
For electronics and certain precision parts, a solvent-based bath is sometimes necessary. Isopropyl alcohol works well for circuit boards, but it must be used in a sealed, explosion-rated ultrasonic unit. Never use flammable solvents in a standard heated ultrasonic cleaner without proper ventilation and safety controls.
Enzymatic Detergents
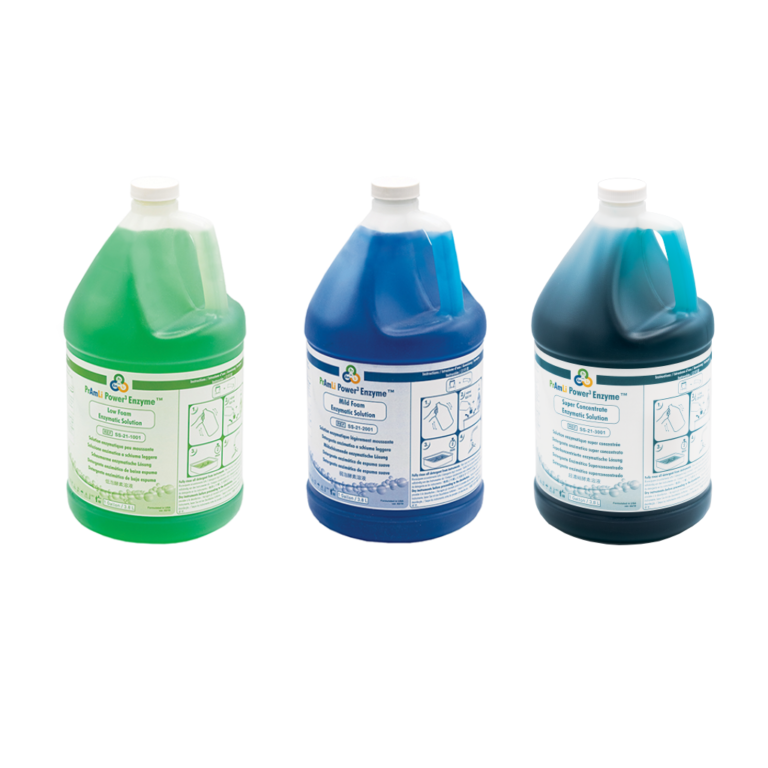
Used heavily in dental, medical, and laboratory settings, enzymatic cleaners break down proteins, blood, saliva, and biological matter. They're gentle on instruments but highly effective at dissolving organic contaminants. Many ultrasonic cleaning services in healthcare rely on these exclusively.
Citric Acid or Mild Acid Solutions
For removing rust, tarnish, or mineral deposits, mildly acidic solutions can help. Citric acid is popular for cleaning coins, copper, and brass. But acids can damage certain metals, so I only recommend them when you know the material compatibility.
How to Choose the Right Solution for Your Application
Identify the Item Being Cleaned
Start by asking: what am I cleaning? The answer determines everything. Cleaning a carburetor is very different from cleaning a diamond ring or a dental scaler. Match the chemistry to the substrate.
Consider the Contaminant
Are you removing oil, oxidation, biological residue, or dust? Each type of contamination responds to different chemical agents. Oils need surfactants and emulsifiers. Oxidation needs acids or chelating agents. Biological matter needs enzymes.
Check Material Compatibility
Some solutions are safe for stainless steel but will eat aluminum. Some are fine for glass but will cloud polycarbonate. Before dropping anything into the bath, confirm the solution is compatible with the material. I keep a chart posted near my own cleaner for quick reference.
Match the Solution to Frequency and Temperature
Higher frequencies (around 80 kHz and above) work best with low-foaming solutions because they produce finer cavitation. Lower frequencies (around 40 kHz) are more forgiving and can handle slightly more aggressive detergents. Temperature also affects chemistry — most solutions work best between 40°C and 65°C.
DIY Ultrasonic Cleaner Solutions vs Commercial Products
I've tested plenty of homemade recipes over the years. Some work surprisingly well for casual cleaning. Others are disasters waiting to happen. Here's my honest breakdown.
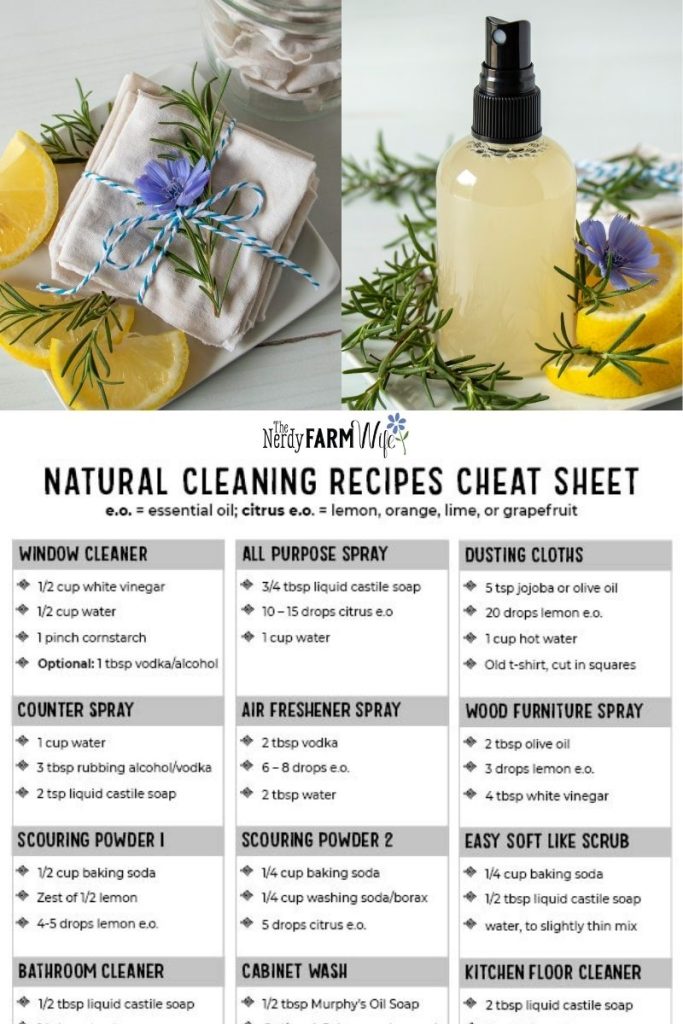
DIY options like diluted dish soap, ammonia mixtures, vinegar, and baking soda solutions are inexpensive and easy to make. They're fine for occasional, low-stakes cleaning around the house. But they lack the consistent chemistry, anti-foaming agents, and corrosion inhibitors found in commercial products.
Commercial solutions, on the other hand, are tested for material safety, optimized for cavitation efficiency, and often include rust inhibitors and brighteners. If you're cleaning valuable or precision items, the small extra cost is worth it.
A balanced approach I use myself: I keep commercial concentrate on hand for anything valuable or important, and I use simple DIY solutions for dirty shop tools or hardware that doesn't need gentle treatment.
Step-by-Step Guide to Mixing and Using Ultrasonic Cleaner Solution
Step 1: Fill the Tank with Distilled Water
Always start with distilled or deionized water. Fill the tank to the indicated line.
Step 2: Add the Correct Amount of Concentrate
Follow the manufacturer's dilution ratio. Most concentrates are mixed at 1:10 to 1:30 with water. Too much concentrate doesn't improve cleaning — it causes excessive foam and residue.
Step 3: Degas the Solution
Run the cleaner empty for 5 to 10 minutes before the first use. This removes trapped air and allows the solution to reach peak cavitation efficiency. I recommend degassing after every fresh fill.
Step 4: Set the Temperature
Most cleaning jobs perform best between 40°C and 65°C. Higher temperatures improve cleaning power but can damage delicate items.
Step 5: Place Items Properly
Use a basket or tray. Never place items directly on the tank bottom. Ensure full submersion without overcrowding.
Step 6: Run the Cleaning Cycle
Typical cycles run 5 to 20 minutes. Delicate items may only need 1 to 3 minutes.
Step 7: Rinse and Dry
Rinse cleaned parts with clean distilled water to remove chemical residue. Dry with filtered air or a lint-free cloth.
Common Mistakes to Avoid with Ultrasonic Cleaning Solutions
- Using foamy household detergents that block cavitation
- Reusing dirty solution until it turns black
- Mixing different cleaning chemicals without knowing compatibility
- Ignoring material compatibility charts
- Skipping degassing on a fresh tank
- Running the tank at maximum temperature for delicate items
- Leaving parts in the bath for hours, thinking longer means cleaner
Safety Tips When Handling Ultrasonic Cleaning Solutions
- Always wear nitrile gloves when handling concentrates
- Use eye protection when pouring or mixing chemicals
- Work in a ventilated space when using solvent-based solutions
- Never mix acids with alkaline solutions
- Store concentrates in clearly labeled, sealed containers
- Dispose of used solutions according to local hazardous waste rules
Best Practices for Long-Term Solution Management
- Replace solution when it becomes visibly cloudy or discolored
- Filter solution through fine mesh if cleaning the same type of part repeatedly
- Keep the tank covered when not in use to prevent evaporation and contamination
- Wipe the tank interior between solution changes to prevent cross-contamination
- Keep a log of dilution ratios and cleaning cycles for consistent results
How Often Should You Change Ultrasonic Cleaner Solution?
Solution lifespan depends on what you're cleaning and how often. Heavy industrial cleaning may require daily changes. Light jewelry or hobby cleaning might allow weekly or biweekly replacement. I change mine every 20 hours of use or whenever the solution loses clarity. A simple rule: if it looks dirty, it is dirty.
Signs You're Using the Wrong Solution
- Persistent residue after cleaning
- White spotting or mineral deposits on parts
- Excessive foaming inside the tank
- Discoloration of cleaned items
- Rust appearing on metal after removal
- No improvement in cleanliness compared to plain water
Eco-Friendly and Non-Toxic Ultrasonic Solutions
More manufacturers are offering biodegradable, non-toxic formulas. Plant-based surfactants, citric acid blends, and water-based concentrates with low VOC content are now widely available. They're safer for users, gentler on parts, and easier to dispose of. If your shop has sustainability goals or operates in a confined workspace, eco-friendly solutions are worth considering.

Frequently Asked Questions
Can I use tap water in my ultrasonic cleaner?
You can, but minerals in tap water leave residue and scale. Distilled or deionized water gives better results and extends the life of your tank.
Is dish soap safe for ultrasonic cleaning?
Only in small amounts for non-critical cleaning. Heavy foaming interferes with cavitation. For valuable items, use a proper ultrasonic detergent instead.
What solution is best for cleaning jewelry?
A neutral pH, ammonia-based or specialized jewelry ultrasonic cleaner solution works best. It safely removes lotions, dirt, and oils without damaging gemstones or metals.
Can I mix different ultrasonic cleaning solutions?
It's not recommended. Mixing chemicals can cause reactions, reduce effectiveness, or damage parts. Stick to one product per tank.
How do I know when to change the solution?
Change it when it becomes cloudy, discolored, or less effective. For heavy use, change it daily. For light use, weekly changes are usually sufficient.
Wrapping It Up
Choosing the right ultrasonic cleaner solution transforms your results from frustrating to flawless. Match the chemistry to the material and contaminant, start with distilled water, use a proper concentrate, and respect the safety guidelines. Whether you're cleaning jewelry, automotive parts, surgical instruments, or circuit boards, the right solution makes the ultrasonic waves work for you instead of against you.
Start by identifying exactly what you're cleaning, pick a solution designed for that application, and test on a low-value item before committing to a full batch. Once you dial in the formula, your ultrasonic cleaner will quickly become the most valuable tool in your workspace. If you have questions about a specific cleaning challenge, drop a comment below — I read every one and love helping readers solve stubborn cleaning problems.