How To Make Floor Cleaner Liquid At Home: Easy DIY Guide 2026
You can make an effective floor cleaner at home by mixing white vinegar, water, and a few drops of essential oil for a fresh scent.
I still remember the first time I mixed my own floor cleaner. I was tired of the strong chemical smell that always stuck around long after I finished mopping. That single experiment opened the door to a cleaner home, a lighter budget, and a more eco-friendly way of life. If you have ever wondered how to make floor cleaner liquid at home, you are in the right place. With a handful of simple ingredients, a little know-how, and some tested tips, you can craft a powerful cleaning solution that works just as well as anything you would find on a store shelf. Let me walk you through everything you need to know, from ingredients to application, so you can start making your own today.
Why Make Floor Cleaner Liquid at Home
There is something deeply satisfying about using a product you made yourself. When you know exactly what goes into your floor cleaner, you gain control over its strength, scent, and safety. Many store-bought cleaners contain harsh chemicals that can irritate skin, trigger allergies, or leave behind strong fumes. By switching to a homemade version, you reduce exposure to those chemicals while also cutting down on plastic waste.
From a practical standpoint, homemade floor cleaner liquid is incredibly cost-effective. A bottle of white vinegar costs a fraction of what you would spend on a name-brand cleaner, and a little goes a long way. Plus, you can customize the fragrance to match your mood or the season. Lavender for relaxation, lemon for energy, or tea tree for a fresh, herbal touch. Making your own cleaner is not just about saving money. It is about creating a healthier home for you and your loved ones.
Essential Ingredients for Homemade Floor Cleaner Liquid
Before you start mixing, gather the basic ingredients that form the backbone of any good floor cleaner. Each one plays a specific role in cutting grease, removing grime, and leaving your floors sparkling.
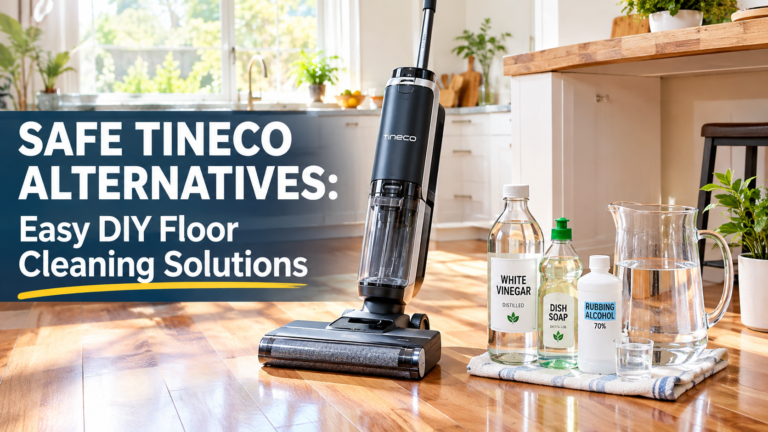
White vinegar is the star of the show. It is a natural disinfectant that breaks down dirt, dissolves mineral deposits, and neutralizes odors. Water dilutes the vinegar so it is safe for most floor types. Castile soap adds gentle cleaning power without leaving residue. Essential oils provide a pleasant scent and can offer antibacterial benefits depending on the type you choose. Baking soda is optional but useful for tackling tough stains or sticky spots. Finally, a small amount of rubbing alcohol helps the cleaner dry faster, which is especially helpful on tile or hardwood.
If you want a thicker, more gel-like consistency, you can also add a natural thickening agent like xanthan gum, though this is not required for everyday mopping.
Basic Homemade Floor Cleaner Recipe
This is the simplest and most reliable recipe I have used over the years. It works beautifully on tile, vinyl, and sealed hardwood.
You will need one cup of white vinegar, one gallon of warm water, ten drops of your favorite essential oil, and one tablespoon of castile soap. Start by filling a bucket with the warm water. Add the vinegar and castile soap, then stir gently to combine. Be careful not to create too many bubbles. Once the mixture is blended, add the essential oil and give it one final stir. Your floor cleaner is now ready to use.
Dip your mop into the solution, wring it out thoroughly, and mop as usual. There is no need to rinse, though if you notice any streaks, you can go over the floor a second time with plain water. This recipe is gentle enough for regular use yet powerful enough to handle everyday messes.
Variations for Different Floor Types
Not all floors are created equal, and your cleaner should reflect that. Here are a few easy adjustments you can make depending on what you have underfoot.
For hardwood floors, reduce the vinegar to half a cup and skip the castile soap, as too much moisture or soap can leave a dull film. Instead, add a small amount of olive oil for a natural shine. For tile and grout, the basic recipe works well, but you can boost its power by adding two tablespoons of baking soda. This helps lift dirt from grout lines. For laminate floors, use the basic recipe but make sure to wring the mop very well, as excess water can seep into seams and cause swelling. For natural stone like marble or granite, avoid vinegar altogether, as the acid can etch the surface. Use a pH-neutral castile soap mixed with water and a few drops of essential oil instead.
These small tweaks make a big difference in preserving the life and beauty of your floors.
Step by Step Guide to Making and Using Your Floor Cleaner
Making the cleaner is only half the process. Using it correctly ensures you get the best results every time.
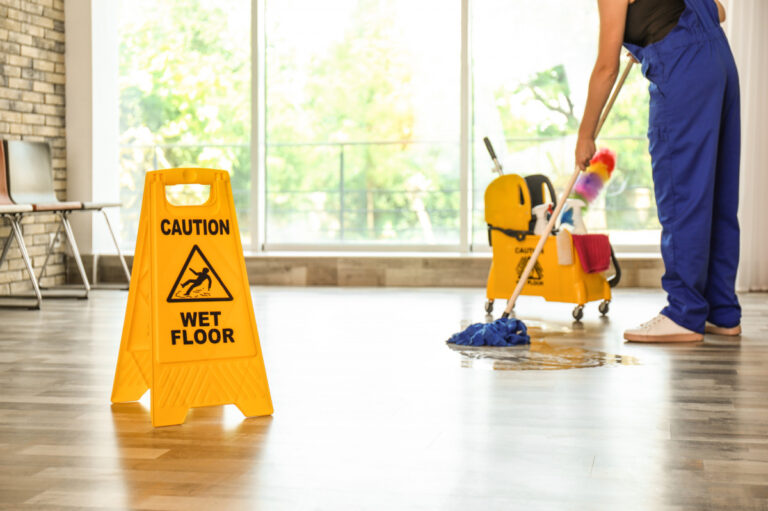
First, clear the floor of any loose debris by sweeping or vacuuming. This prevents dirt from being spread around or scratching the surface. Next, prepare your cleaning solution in a clean bucket according to the recipe that matches your floor type. Dip your mop into the liquid and wring it out until it is damp, not soaking. Mop in sections, working from the back of the room toward the exit so you do not step on wet floors. If you encounter a sticky spot, apply a small amount of the concentrated solution directly and let it sit for a minute before wiping. Allow the floor to air dry. There is no need to rinse unless you notice a film or streaks.
Following these steps will leave your floors clean, fresh, and residue-free.

Common Mistakes to Avoid When Making Homemade Floor Cleaner
Even with the best intentions, it is easy to make a small error that affects the final result. One of the most common mistakes is using too much soap. More soap does not mean more clean. It usually means more residue. Stick to the recommended amount.
Another mistake is using undiluted vinegar on sensitive floors. Vinegar is a mild acid, and while it is safe for many surfaces, it can damage natural stone or unsealed wood. Always test a small, hidden area before cleaning the entire floor. Some people also make the error of mixing vinegar and baking soda in a sealed container, which creates a fizzing reaction that can cause pressure buildup. While not dangerous in an open bucket, it can be a mess if you are not prepared.
Finally, avoid using essential oils that are not pure or that contain synthetic additives. These can leave a film or even stain certain floors. Choose high-quality, therapeutic-grade oils for the best results.
Tips to Enhance the Cleaning Power of Your Homemade Solution
If you want to take your floor cleaner to the next level, a few simple additions can make it even more effective. Adding a splash of lemon juice boosts the cleaning power and leaves a bright, fresh scent. It is especially good for cutting through kitchen grease.
For extra disinfecting properties, consider adding a few drops of tea tree oil. It is known for its natural antibacterial and antifungal qualities. If you have pets, you might want to avoid certain essential oils like tea tree or citrus, as they can be harmful to animals. Stick to lavender or chamomile instead, which are generally safe.
Another trick is to use distilled water instead of tap water. Tap water contains minerals that can leave streaks or buildup over time. Distilled water keeps your cleaner pure and your floors looking their best.
Storage and Shelf Life of Homemade Floor Cleaner
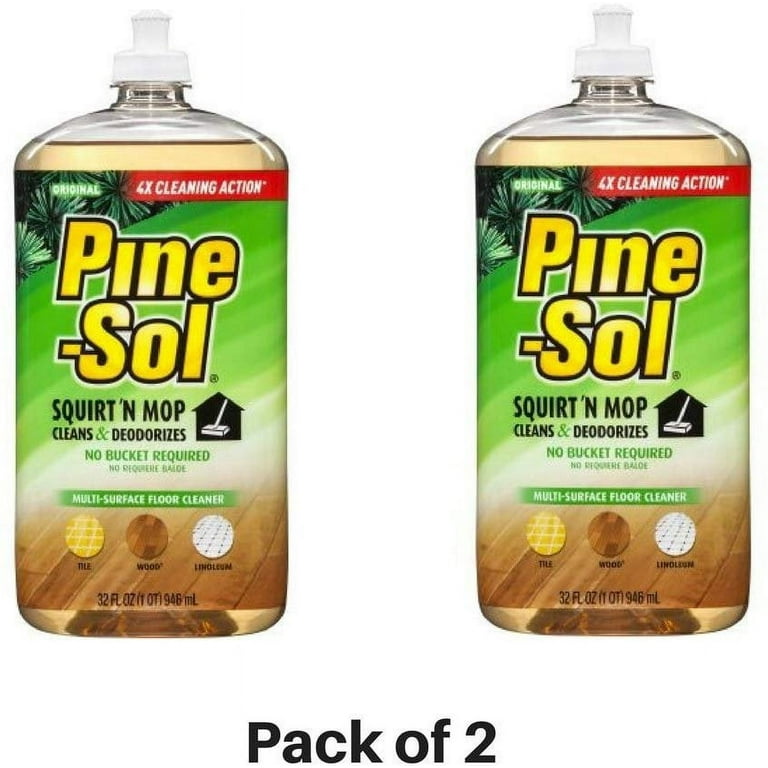
One of the great things about homemade floor cleaner is that it stores well and is always ready when you need it. Pour the mixture into a clean spray bottle or a sealed jug. Label it clearly so there is no confusion with other household liquids.
Stored in a cool, dark place, your floor cleaner will stay effective for up to three months. Over time, the essential oils may lose their potency, so you might want to add a few fresh drops before each use. If you notice any change in color or smell, it is best to make a fresh batch.
Avoid storing your cleaner in direct sunlight or near heat sources, as this can degrade the ingredients and reduce its effectiveness.
Environmental and Health Benefits of DIY Floor Cleaner
Switching to homemade floor cleaner is a small change that makes a big impact. Commercial cleaners often come in plastic bottles that end up in landfills. By making your own, you reduce packaging waste and lower your carbon footprint. You also avoid introducing harmful chemicals into your home environment.
Many store-bought cleaners contain volatile organic compounds, or VOCs, which can contribute to indoor air pollution. Homemade alternatives, especially those made with natural ingredients, keep your air cleaner and your home safer. This is especially important for households with children, pets, or anyone with allergies or asthma.
Making your own cleaner is not just a practical choice. It is a step toward a more sustainable and health-conscious lifestyle.
Frequently Asked Questions About Homemade Floor Cleaner Liquid
Can I use apple cider vinegar instead of white vinegar?
Yes, you can use apple cider vinegar, though it may leave a slight amber tint and a different scent. White vinegar is preferred for its clear color and neutral smell, but apple cider vinegar works in a pinch.
Is homemade floor cleaner safe for pets?
It depends on the essential oils you use. Some oils, like tea tree and citrus, can be toxic to pets. Stick to pet-safe options like lavender or chamomile, and always make sure the floor is fully dry before letting your pets walk on it.
How often should I mop with homemade floor cleaner?
For most homes, mopping once a week is enough to keep floors clean. High-traffic areas like kitchens and entryways may need more frequent attention.
Can I use this cleaner on marble or granite floors?
No, vinegar is too acidic for natural stone. Use a pH-neutral cleaner made with castile soap and water instead to avoid damaging the surface.
Will homemade floor cleaner leave streaks?
If used correctly and not over-applied, it should not. Make sure to wring your mop well and avoid using too much soap. If streaks appear, go over the floor with plain water.
Conclusion
Making your own floor cleaner liquid at home is one of the simplest and most rewarding changes you can make for your home. It saves money, reduces waste, and gives you full control over what touches your floors. With just a few basic ingredients and a little bit of know-how, you can create a cleaning solution that is safe, effective, and tailored to your needs. Whether you are mopping tile, hardwood, or laminate, there is a recipe that works for you. Give it a try, and you might never go back to store-bought cleaners again. If you found this guide helpful, feel free to share it with a friend or leave a comment below with your own tips and experiences.