What Cleans Car Lights: Best Methods For 2026
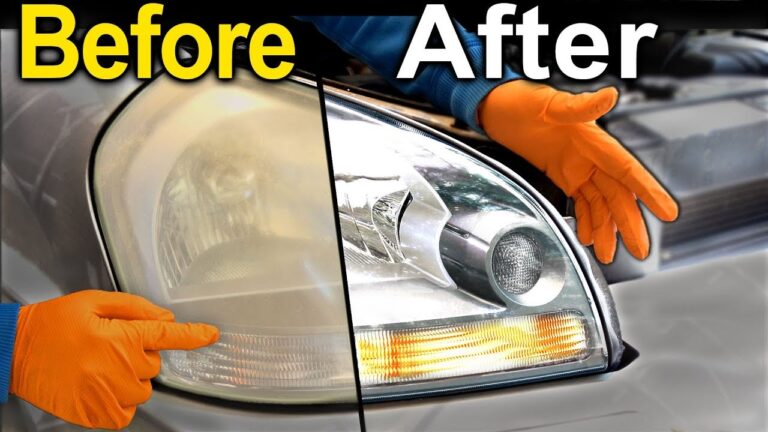
The best way to clean car lights is with mild soap, baking soda, white vinegar, or a dedicated headlight restoration kit for tough oxidation. Cloudy headlights can make even a shiny new car look old and tired, and they also reduce how well you can see at night. Keeping your car lights clean is not just about looks, it is also a real safety issue that many drivers overlook.
I have worked on hundreds of vehicles as an automotive detailer, and I have seen the same thing again and again. A simple cleaning routine can make your headlights look almost new and shine up to 50% brighter. In this guide, I will walk you through the exact products and methods I use to clean car lights, from gentle everyday options to heavy duty restoration tricks. You will learn what really works, what to avoid, and how to keep your lights clear for years.
Why Car Lights Get Dirty and Foggy
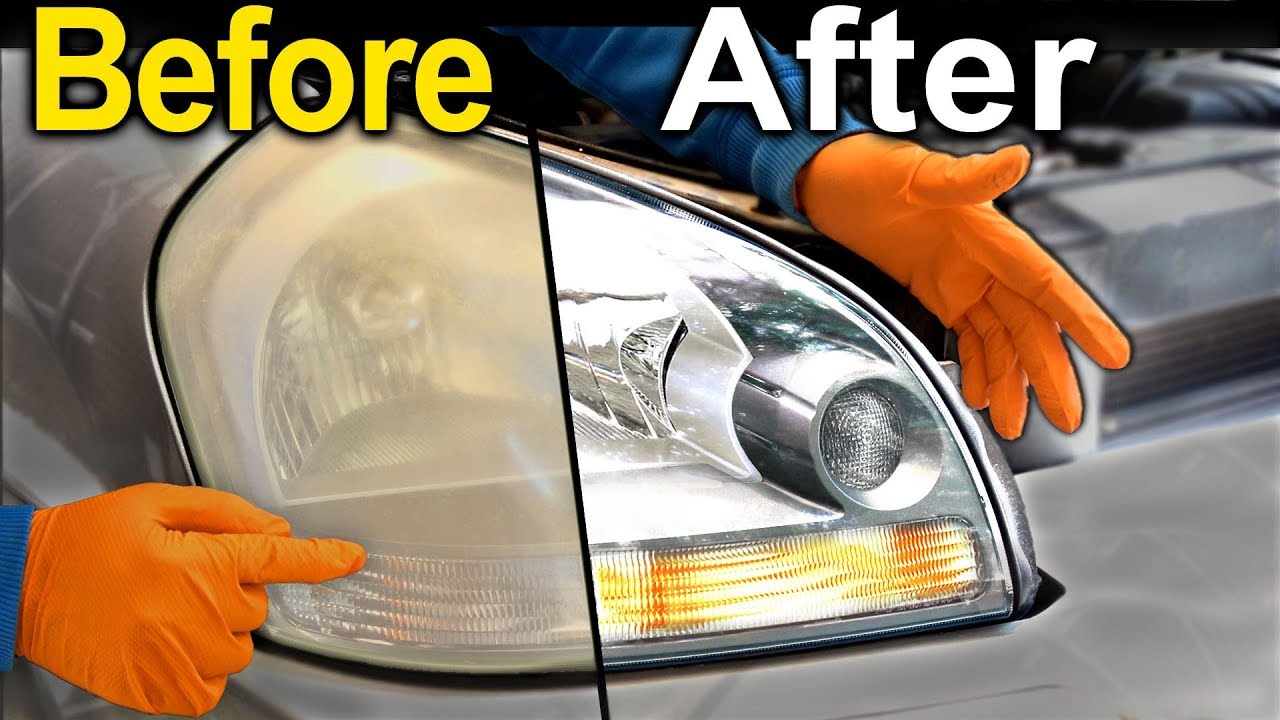
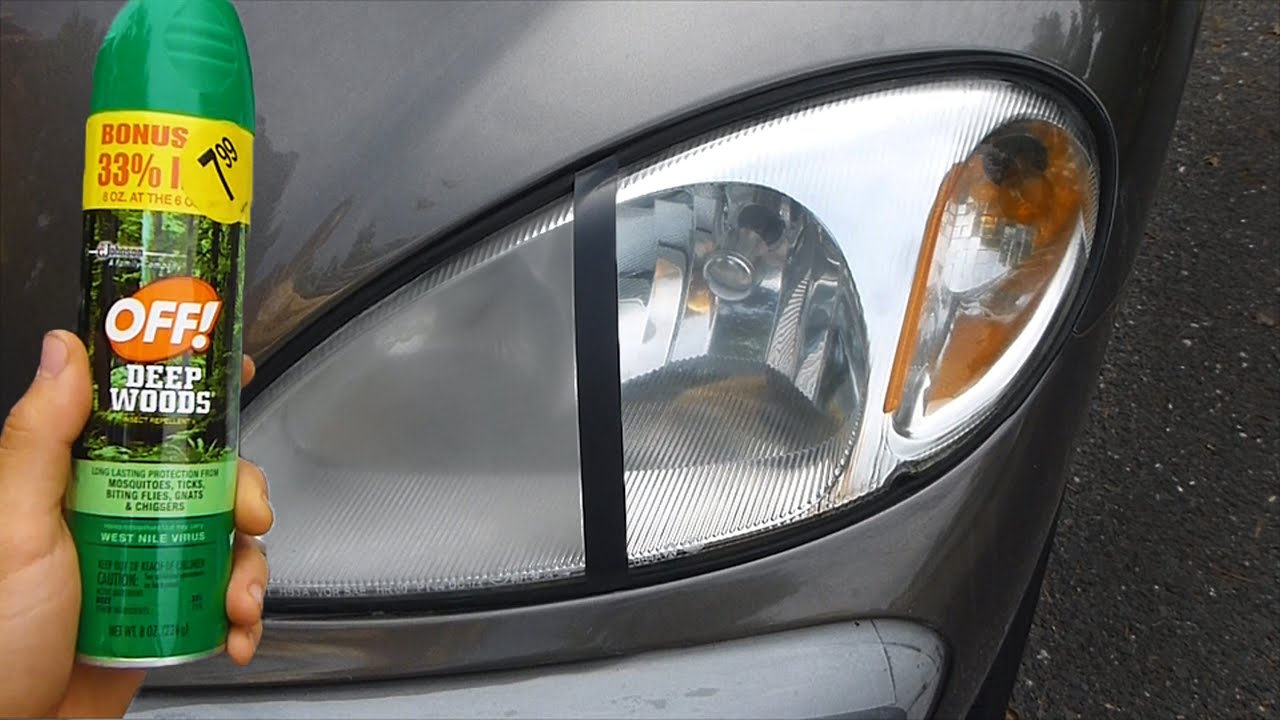
Before we jump into what cleans car lights, it helps to understand why they get cloudy in the first place. Most modern headlights are made of polycarbonate plastic, not glass. This plastic is tough, but it has a soft outer layer that breaks down over time.
Common Causes of Headlight Cloudiness
UV rays from the sun are the biggest enemy. They break down the top coat on your headlights and cause yellowing. Road grime, bug splatter, salt, and pollution stick to the surface and slowly eat into the plastic. Small rock chips and scratches also give dirt a place to hide and make the cloudiness worse.
Aging plastic lenses are more porous than new ones, which means once the outer layer is damaged, moisture and chemicals get inside and cause that foggy look you see on older cars. Even simple things like washing your car with harsh chemicals can speed up this process.
Why Clean Lights Matter for Safety
Dirty or foggy headlights can cut your night vision by a huge amount. Studies show that cloudy headlights can reduce light output by up to 80%, which means you see less of the road and have less time to react. In many states, inspectors can actually fail your car if the headlights are not clear enough. Clean lights are not just cosmetic, they save lives.

What Cleans Car Lights: Tested Products That Work
Now for the main question. Over the years, I have tested dozens of products on everything from five year old daily drivers to thirty year old classics. Some methods work great, some are a waste of money, and a few can actually damage your lights. Here is the honest breakdown of what really cleans car lights.
Mild Soap and Warm Water
For light dust and road film, you do not need anything fancy. A bucket of warm water with a few drops of dish soap and a soft microfiber cloth will do the job. This is the safest method and should be your first step before trying anything stronger.
I start almost every detail with this basic wash. It removes loose dirt and lets you see what you are really working with. Sometimes what looks like oxidation is just built up grime, and soap will take it right off.
Baking Soda Paste
Baking soda is one of my favorite household items for cleaning car lights. Mix two tablespoons of baking soda with one tablespoon of water to make a thick paste. Rub it into the lens with a soft cloth in small circles, then rinse clean.
The mild abrasive action lifts surface oxidation without scratching the plastic. It is gentle enough to use every few months and cheap enough to keep in your kitchen. I have seen baking soda bring back life to headlights that looked completely yellowed.
White Vinegar Solution
White vinegar is another kitchen staple that works wonders on headlights. Mix equal parts white vinegar and water in a spray bottle. Spray it on the lens, let it sit for two to three minutes, then wipe clean with a microfiber cloth.
The acid in vinegar breaks down mineral deposits and light oxidation. For tougher spots, you can use straight vinegar, but always rinse well afterward. I keep a spray bottle of this mix in my garage at all times.
Toothpaste Trick
Yes, the same toothpaste you use on your teeth can clean car lights. Use a plain white paste, not gel. Apply a small amount to a damp cloth and rub the lens in circles. The mild abrasives in toothpaste polish away the foggy layer.
This old trick has been around for decades, and I still use it on customer cars when I am in a pinch. It will not fix heavy oxidation, but for light cloudiness, it works surprisingly well. Just be ready to buff it out thoroughly or you will be left with white streaks.
Commercial Headlight Restoration Kits
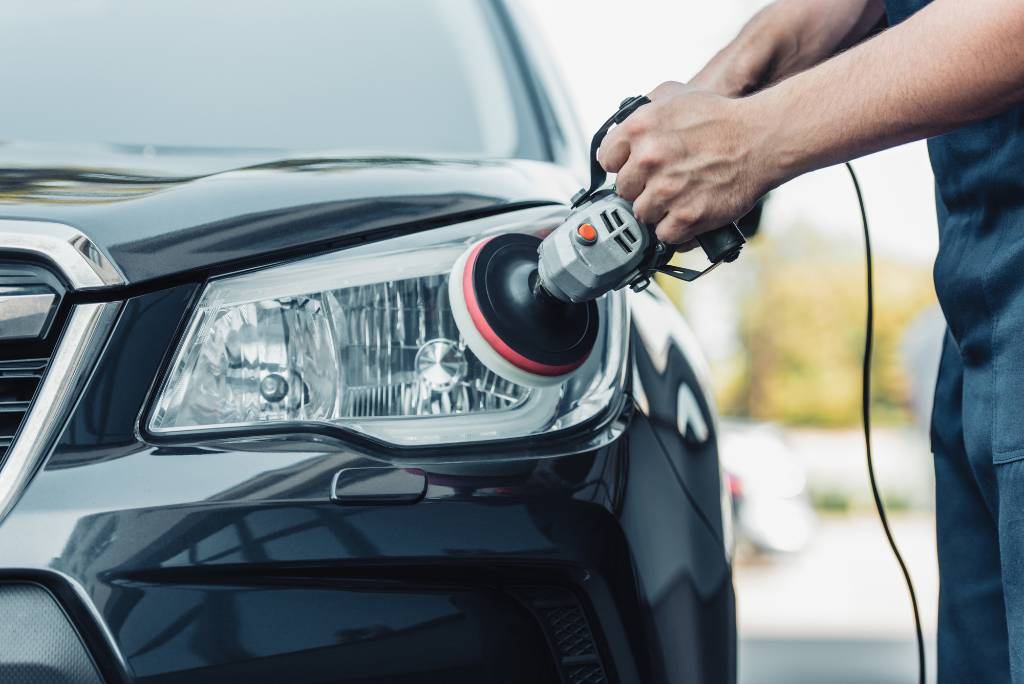
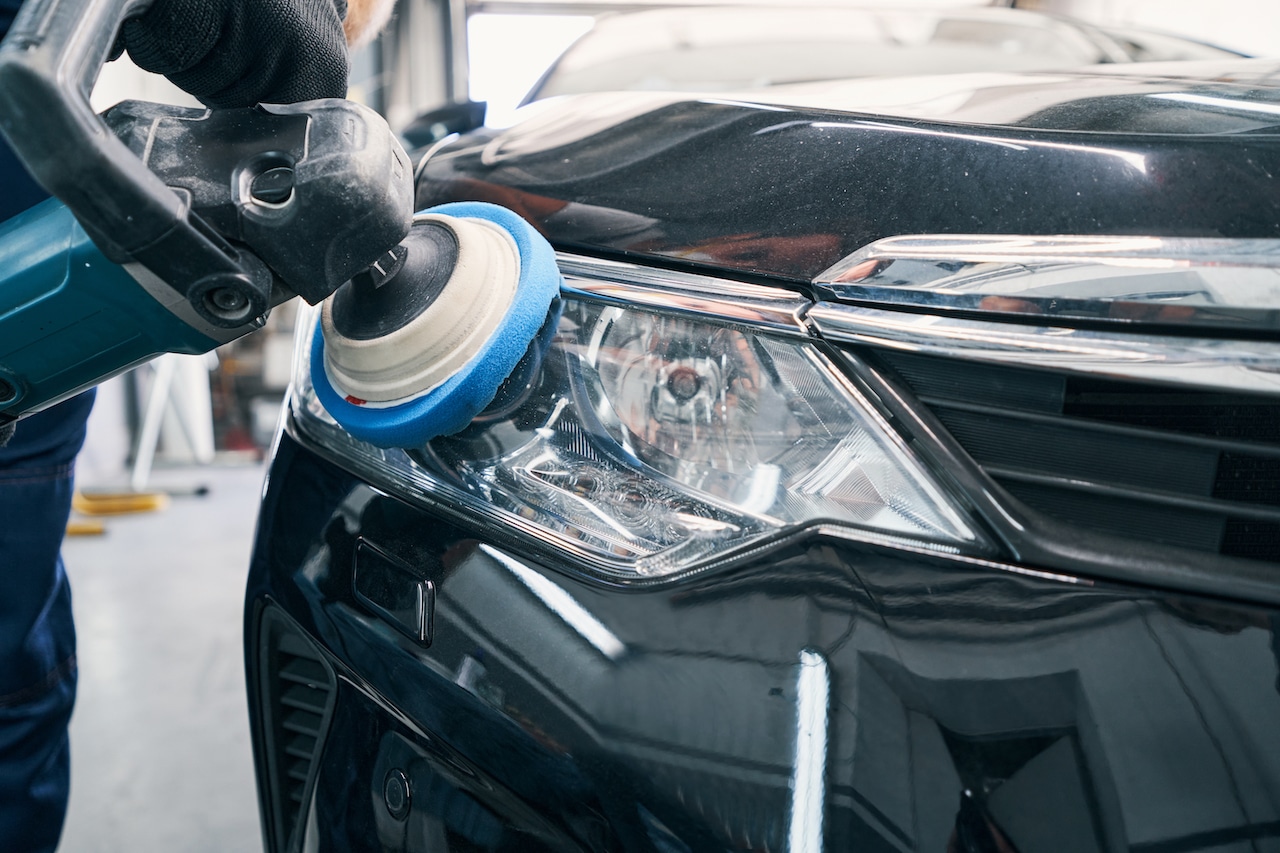
For headlights that are badly oxidized, a proper restoration kit is the way to go. Kits usually come with sandpaper in different grits, a polishing compound, and a UV sealant. Brands like Sylvania, 3M, and Mothers make reliable options that I have used many times.
These kits take about an hour to do right, but the results can be dramatic. I have restored headlights that were so yellow they looked brown, and after a good kit, they looked like new. The key is following the steps in order and sealing the plastic when you are done.
Spray On Headlight Cleaners
There are many spray cleaners made just for headlights. They often combine mild acids, surfactants, and sometimes a light sealant. Products like Meguiar's Headlight Restorer or Chemical Guys Headlight Restorer are popular choices.
For moderately foggy lights, these sprays can save you time. You spray, wait a few minutes, wipe, and repeat. They are not magic, but they are a good middle ground between soap and a full restoration kit.
Step by Step Guide to Cleaning Car Lights
Knowing what to use is only half the battle. How you use it makes all the difference. Here is the exact process I follow when cleaning headlights, whether it is a quick touch up or a full restoration.
Step 1: Wash the Headlights First
Always start with a clean surface. Wash the headlight with soap and water to remove loose dirt and grit. If you skip this and start scrubbing, you can grind dirt into the plastic and create fine scratches.
Use a clean microfiber mitt and rinse often. Dry the lens with a separate microfiber towel before moving on.
Step 2: Tape Off the Area
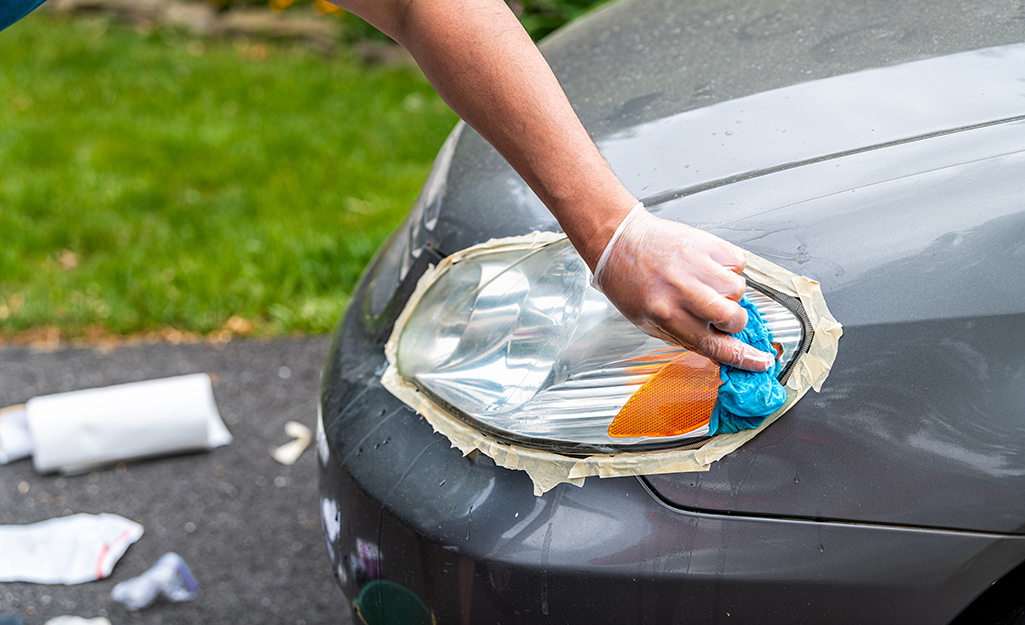
Use automotive masking tape to protect the paint around the headlight. Cleaning products and polishing can leave marks on your paint if you are not careful. Take two minutes to tape it off and save yourself from a bigger problem.
I learned this the hard way early in my career. A quick detail turned into a buffing job on the fender because I got careless with a polishing pad. Now I never skip the tape.
Step 3: Apply Your Chosen Cleaner
Whether you are using baking soda, vinegar, toothpaste, or a commercial product, apply it to a soft cloth first, not directly to the lens. Work in small sections using straight, overlapping strokes.
Do not press too hard. Let the product do the work. If you find yourself pushing hard, you probably need a stronger cleaner or a wet sanding step.
Step 4: Rinse and Inspect
After cleaning, rinse the lens with clean water and dry it with a microfiber towel. Look at the headlight from different angles in good light. You will see spots you missed or areas that need another pass.
Sometimes one round is enough, sometimes you need three or four. Be patient. Rushing leads to streaks and uneven results.
Step 5: Polish for Clarity
If the lens still looks a bit hazy after cleaning, use a plastic polish like Novus 2 or Mothers Plastic Polish. Apply a small amount to a clean cloth and buff the lens until it shines.
This step takes the clarity to the next level. It fills in tiny imperfections and brings back that factory look. I always end with a polish, even on lights that look pretty good.
Step 6: Seal the Headlights
This is the step most people skip, and it is the most important for long term results. Once the lens is clean and clear, apply a UV sealant. Most restoration kits include one, or you can use a clear automotive paint sealant.
Without a sealant, your headlights will start to oxidize again within a few months. With a good sealant, they can stay clear for a year or more. Think of it like sunscreen for your lights.
Common Mistakes to Avoid When Cleaning Car Lights
Even with the right products, it is easy to make mistakes that can damage your headlights or make them look worse. Here are the most common errors I see and how to avoid them.
Using Harsh Solvents
Never use acetone, brake cleaner, or harsh degreasers on plastic headlights. They will melt or craze the surface and leave you with a much bigger problem. Always stick to products made for plastic or mild household items.
I have seen people try to use oven cleaner on headlights. The result is always a ruined lens that has to be replaced. If a product is too strong for kitchen counters, it is too strong for your car.
Skipping the UV Protection
Cleaning without sealing is like washing your car and not waxing it. It looks great for a week, then the damage comes back fast. UV rays are always there, even on cloudy days, and they will find any unprotected plastic.
Make sealing a non negotiable part of your routine. It takes five minutes and adds months of clarity.
Using Abrasive Cloths
Paper towels, old t shirts, and rough rags can scratch plastic. Always use a clean, soft microfiber cloth. Keep a separate set of cloths just for your lights so you do not transfer dirt or grit.
Microfiber is cheap. Buy a pack of good ones and take care of them. Your lights will thank you.
Wet Sanding Without Experience
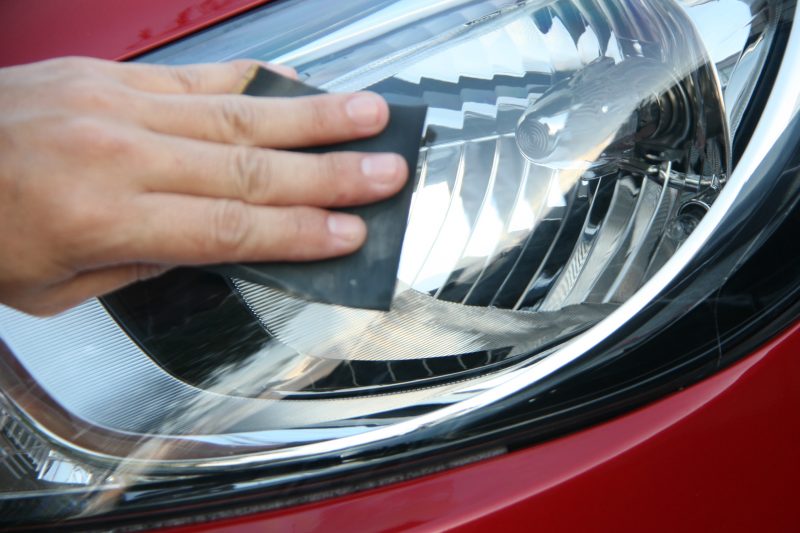
Wet sanding is part of many restoration kits, and it works wonders. But it is also the easiest way to ruin a headlight if you do not know what you are doing. Going too aggressive or skipping grits can leave deep scratches that are hard to fix.
If you have never sanded a headlight before, practice on an old lens or watch a few trusted videos first. It is not hard, but it does require a careful hand and patience.
How to Maintain Clean Car Lights Long Term
Cleaning your headlights is great, but keeping them clean is even better. With a little regular care, you can avoid the heavy oxidation that leads to big restoration jobs.
Regular Washing Routine
Wash your headlights every time you wash your car. A quick wipe with soapy water during your normal wash keeps grime from building up and gives you a chance to spot early yellowing.
Make it a habit. The drivers I see with the clearest lights are the ones who wash their cars often, even if it is just a quick rinse at home.
Park in the Shade
UV rays are the main cause of oxidation. When possible, park in a garage or shaded area. If you park outside a lot, consider a car cover or at least make sure your lights are sealed well.
This one change can add years to the life of your headlights. It is simple, free, and very effective.
Apply Sealant Every Few Months
Most UV sealants last about six months. Mark your calendar and reapply twice a year. It is a small job that pays off big in long term clarity.
I do mine every spring and fall as part of my seasonal detail. It takes minutes and keeps my lights looking new year after year.
Address Damage Early
If you notice a small chip, crack, or early yellowing, deal with it right away. Small problems turn into big ones fast on plastic. A five minute fix now can save you a full restoration later.
Headlights are like teeth. A little care goes a long way, and neglect leads to expensive problems.
When to Replace Instead of Clean
Sometimes cleaning is not enough. If your headlights are deeply yellowed, cracked, or have moisture inside the lens, it might be time for new ones.
Signs You Need New Headlights
If the plastic is pitted, cracked, or flaking, no amount of cleaning will fix it. Moisture inside the lens is another sign the seal has failed, and no cleaner can fix that. Also, if your lights are very old and made of glass, they may be etched permanently.
Replacement headlights are more affordable than most people think. Many aftermarket options cost less than a good restoration kit, and they come with new bulbs and housings ready to go.
Choosing Replacement Headlights
Look for headlights that meet DOT standards. Match the style and bulb type of your originals unless you are upgrading. LED replacements are popular but make sure they are legal in your area and fit your car properly.
I always recommend OEM or high quality aftermarket parts. Cheap headlights often have poor seals and weak plastic that yellows fast.
Frequently Asked Questions
Can I use WD-40 to clean car lights?
WD-40 can temporarily make headlights look clearer by filling in small scratches, but it is not a cleaner and will not remove oxidation. It also attracts dust and can damage plastic over time. Stick to proper cleaning products for real results.
How often should I clean my car headlights?
A light cleaning with soap and water should be part of every car wash, usually every two weeks. A deeper cleaning with baking soda or a commercial product can be done every three to six months depending on conditions.
Will toothpaste really clean headlights?
Yes, plain white toothpaste can clean light oxidation and make headlights clearer. It contains mild abrasives that polish the surface. It is not a permanent fix, and you should always seal the lights after using it.
Are headlight restoration kits worth the money?
For moderately to heavily oxidized headlights, a good restoration kit is absolutely worth it. They cost much less than replacement and can make old headlights look almost new when used correctly. The key is following the steps and sealing the plastic at the end.
Can I clean headlights with vinegar every time?
White vinegar is safe for occasional use, but using it too often can dry out some plastics and leave a film if not rinsed well. For regular cleaning, mild soap and water is the best choice. Save vinegar for monthly deep cleans.
Final Thoughts
Knowing what cleans car lights can save you money, improve your night vision, and make your car look years younger. From simple soap and water to baking soda, vinegar, and full restoration kits, you have plenty of options depending on how bad the cloudiness is.
The most important thing is to make cleaning a habit and always seal the plastic after a deep clean. With a little regular care, your headlights can stay bright and clear for the entire life of your car. Start with a gentle wash, work your way up to stronger methods if you need to, and enjoy the safety and style that come with clear lights.
Give your car the attention it deserves this weekend. Grab a microfiber cloth, pick up a restoration kit if your lights are foggy, and take twenty minutes to bring back that factory shine. Your car will look better, you will see better, and you will feel proud every time you hit the road.