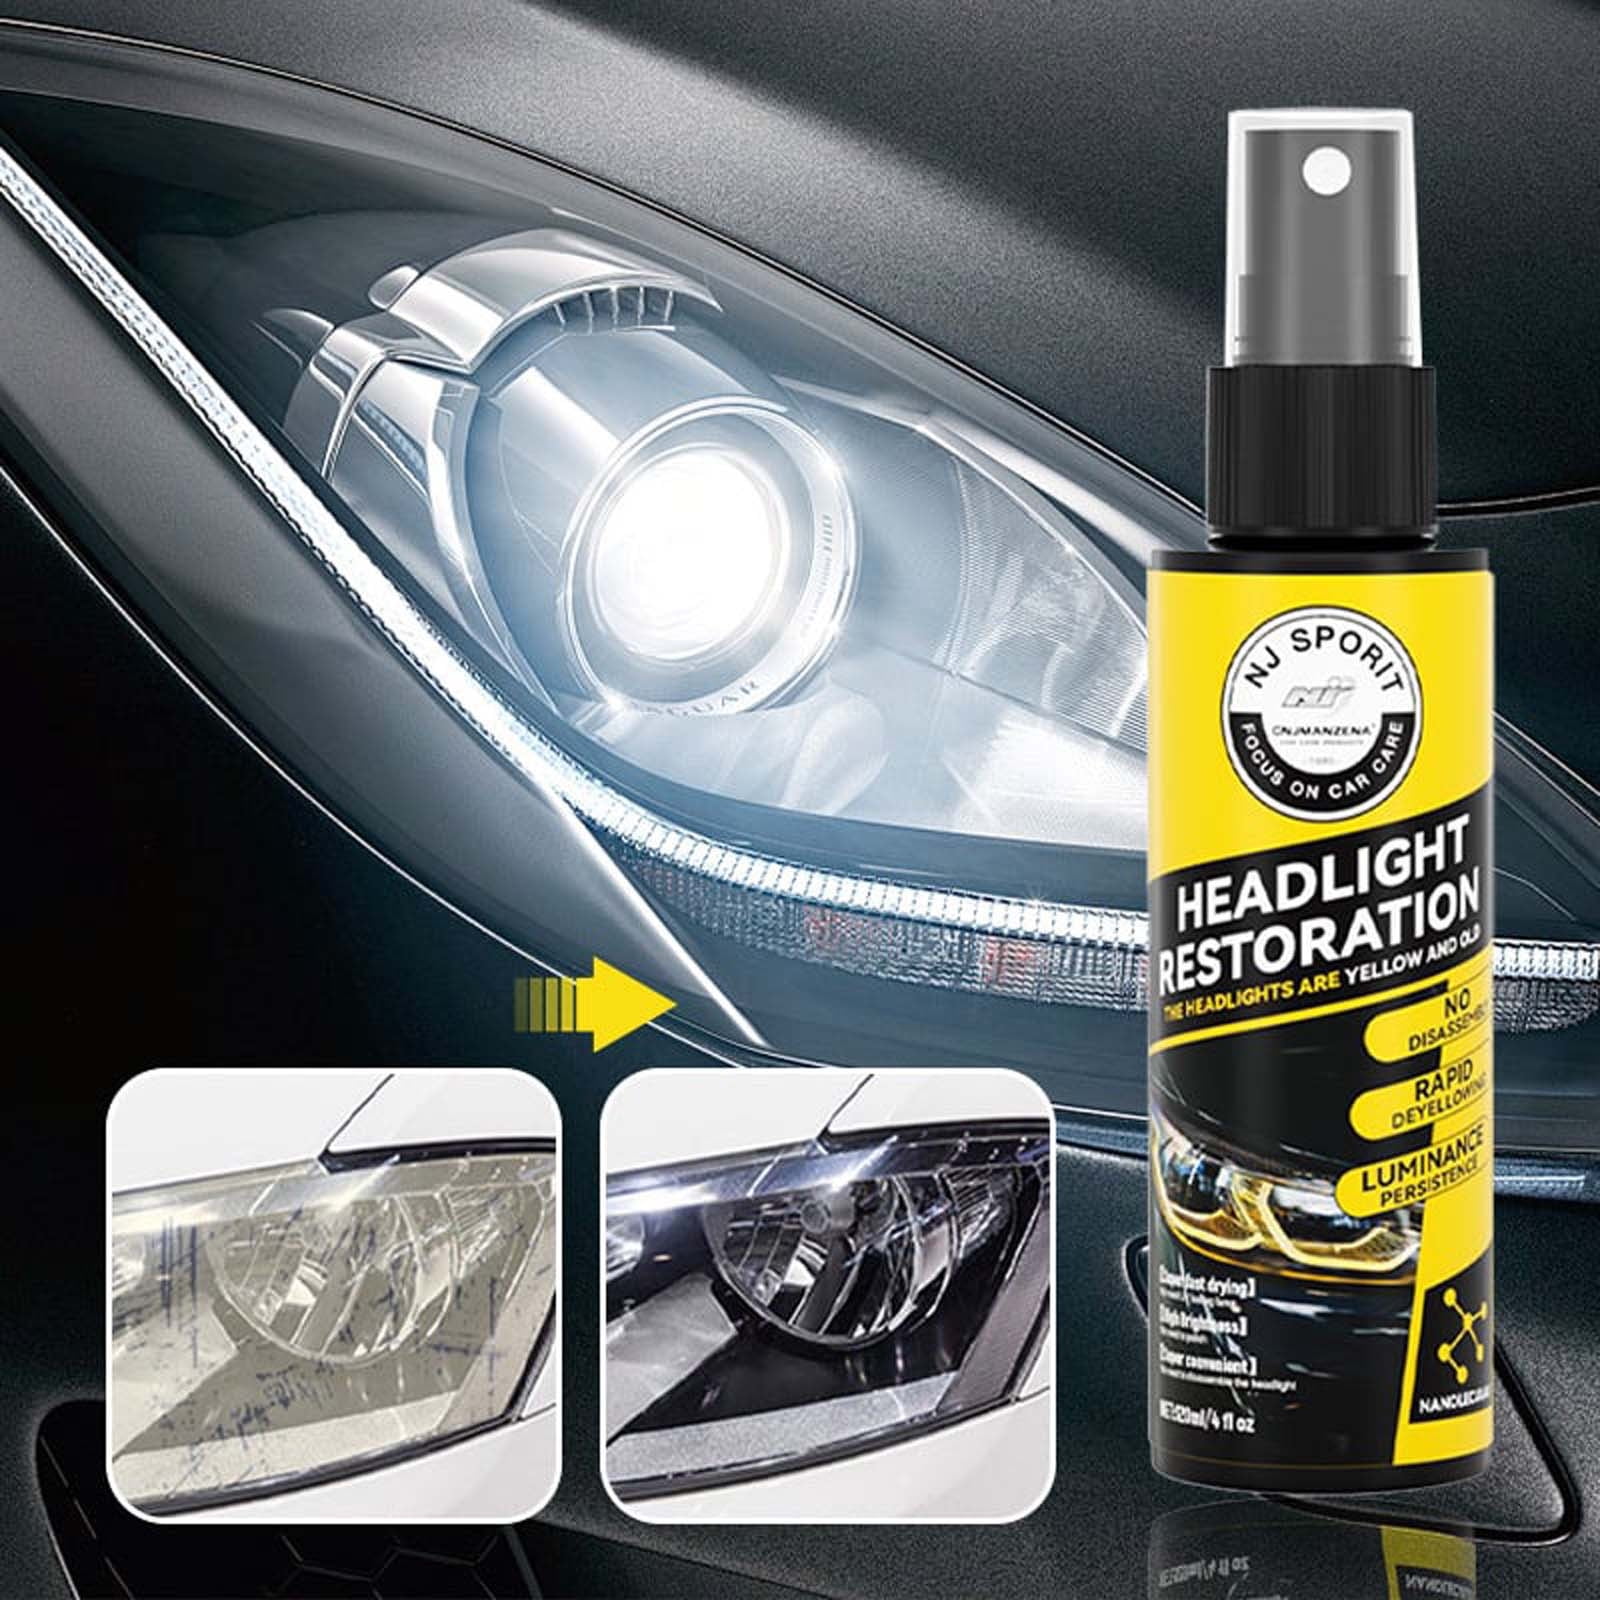
What Cleans Car Headlights: Top Tips For Clear Shine
You can clean car headlights using baking soda paste, toothpaste, vinegar, commercial headlight restoration kits, or a mixture of dish soap and warm water, depending on how much oxidation and grime has built up. The good news is, most of these methods use items you already have at home, and they can bring dull, yellowed lenses back to life without spending a fortune. I'll walk you through the best ways I've personally used to clean car headlights, what works, what doesn't, and how to keep them clear for the long haul.
Why Car Headlights Get Cloudy and Yellow
Before jumping into the cleaning process, it helps to understand what's actually going on with your headlights. Most modern cars use polycarbonate plastic lenses instead of glass because it's lighter, cheaper, and easier to shape. The trade-off is that this material is more porous and sensitive to the environment.
The main culprits behind cloudy, yellowed headlights include:
- UV exposure from the sun breaks down the protective outer coating over time
- Road debris, dirt, and bug splatter create a gritty film on the surface
- Chemical fallout from industrial pollution, brake dust, and acid rain sticks to the plastic
- Moisture and humidity seep into tiny cracks and cause oxidation from within
- Age and wear naturally degrade the outer layer of the lens
When I first noticed my own headlights looking foggy, I assumed they were just dirty. But after washing them thoroughly, I realized the haze was actually inside and on the surface of the plastic itself. That was my introduction to oxidation, and once I understood it, the cleaning made way more sense.

What Cleans Car Headlights: The Best Methods That Actually Work
There are quite a few ways to clean car headlights, ranging from simple household items to professional-grade products. I'll break them down so you can pick the method that matches your budget, time, and how bad the damage is.
Baking Soda and Vinegar Paste
This is one of the most popular DIY methods and one I've personally relied on many times. The mild abrasive quality of baking soda combined with the gentle acidity of vinegar creates a powerful cleaning combo.
Here's how to do it:
- Mix two tablespoons of baking soda with one tablespoon of white vinegar to form a thick paste
- Apply the paste to the headlight lens using a soft cloth or sponge
- Rub in small circular motions for about three to five minutes
- Rinse thoroughly with clean water and dry with a microfiber towel
The reason this works so well is that the baking soda gently scrubs away the oxidized top layer of plastic, while the vinegar helps break down mineral deposits and grime. I've used this method on older vehicles and was surprised at how clear the lenses looked afterward.
Toothpaste Method
Plain white toothpaste (not the gel kind) is another household hero. It contains mild abrasives like silica that are perfect for buffing out surface oxidation.
Steps to follow:
- Clean the headlight with soap and water first to remove loose dirt
- Apply a generous amount of toothpaste directly onto the lens
- Use a damp cloth or soft brush to scrub in circular motions
- Continue scrubbing for about five minutes
- Rinse with water and buff dry
The first time I tried this trick, I was skeptical. But after a few minutes of elbow grease, the difference was honestly shocking. It's a great quick fix if you're on a tight budget.
Commercial Headlight Restoration Kits
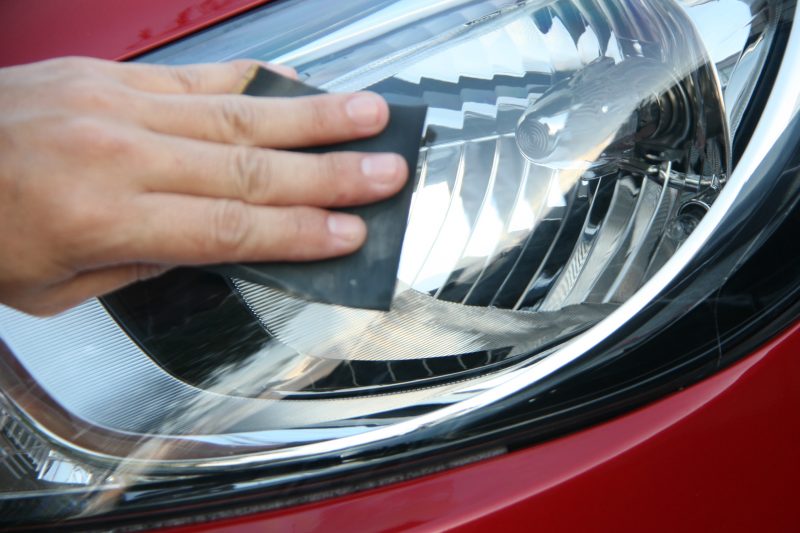
If your headlights are heavily oxidized or the DIY route hasn't delivered the results you wanted, a commercial restoration kit is your best bet. These kits usually include sandpaper in various grits, a polishing compound, and a UV sealant.
The typical process looks like this:
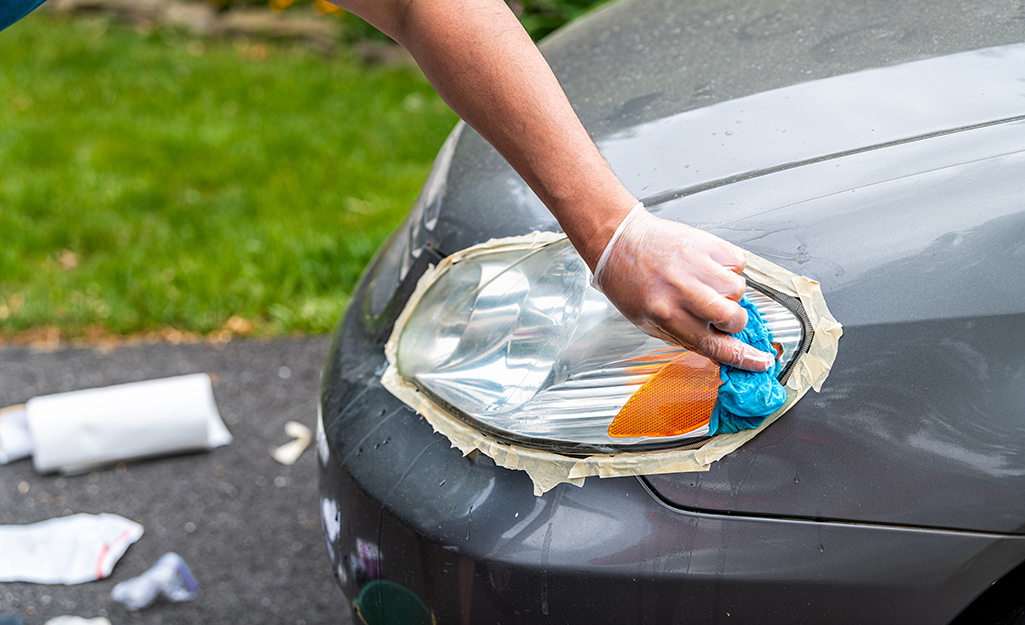
- Tape off the surrounding paint to protect it from scratches
- Wet-sand the lens with progressively finer sandpaper grits (usually 400, 1000, 2000, and 3000)
- Apply the included polishing compound with a foam applicator
- Buff the lens until it becomes clear and shiny
- Finish with the UV sealant to protect the new surface
I used a restoration kit on my old truck, and the headlights looked brand new. The key is taking your time during the sanding steps and not rushing the sealing process.
Dish Soap and Warm Water
For headlights that are just dirty and not heavily oxidized, sometimes the simplest approach works best. A bucket of warm water with a few drops of dish soap can do wonders for routine maintenance.
Quick steps:
- Mix warm water with a few drops of dish soap
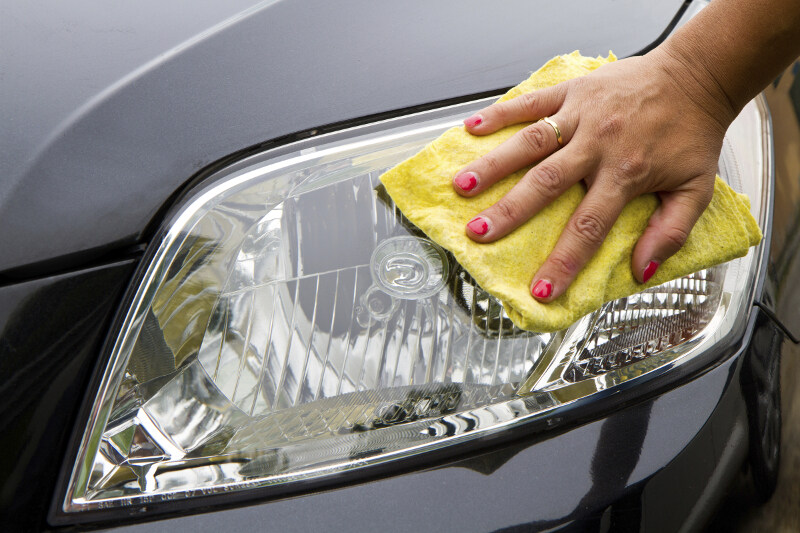
- Use a microfiber cloth to gently wash the lens
- For stubborn spots, let the soapy water sit for a minute before wiping
- Rinse and dry thoroughly
This won't fix yellowing or deep oxidation, but it's a great habit to get into to keep headlights from getting bad in the first place.

What NOT to Use on Your Headlights
I've made my share of mistakes over the years, and one of the biggest was using harsh chemicals on my headlights. Here's what to avoid:
- Acetone or nail polish remover can melt or permanently damage the plastic
- Bleach will discolor and weaken the lens material
- Abrasive scrub pads like steel wool can leave deep scratches
- Glass cleaner alone is fine for a quick wipe-down but won't fix oxidation
- WD-40 might make them look shiny temporarily, but it actually breaks down the protective coating over time
I learned the WD-40 lesson the hard way. It made my headlights look great for a week, but then they yellowed even faster. Stick to the methods I mentioned above for safe, lasting results.
How to Keep Headlights Clean After Restoration
Cleaning your headlights is only half the battle. If you don't protect them afterward, they'll get cloudy again much faster. Here's what I always do after a good cleaning or restoration:
- Apply a UV-resistant sealant or spray coating to block sun damage
- Park in a garage or shaded area whenever possible
- Wash your headlights regularly as part of your car care routine
- Avoid touching the lenses with bare hands, as oils from your skin can attract dirt
- Use a car cover if you park outside for long periods
One of the smartest moves I made was applying a ceramic coating specifically designed for plastic surfaces. It cost a little extra, but months later, my headlights still look crystal clear. The UV protection is the real game-changer, especially if you live somewhere sunny.
When to Replace Headlights Instead of Cleaning Them
Sometimes no amount of cleaning will save a headlight. Here are the signs that it's time to consider a replacement:
- Deep cracks or chips in the lens surface
- Moisture trapped inside the housing that won't dry out
- Severe yellowing that doesn't improve even after sanding and polishing
- Loose or damaged mounting brackets
- Burned-out bulbs combined with cloudy lenses
In these cases, spending money on a new headlight assembly might make more sense than chasing a fix that won't last. New headlights also improve safety significantly, especially for night driving.
Personal Tips From Years of Trial and Error
After cleaning dozens of headlights on my own cars and helping friends with theirs, here are a few tips that I wish someone had told me earlier:
- Always work in the shade or in a cool garage so products don't dry too fast
- Don't skip the protective coating after restoration; it's the most important step
- Use painter's tape generously around the headlight before sanding
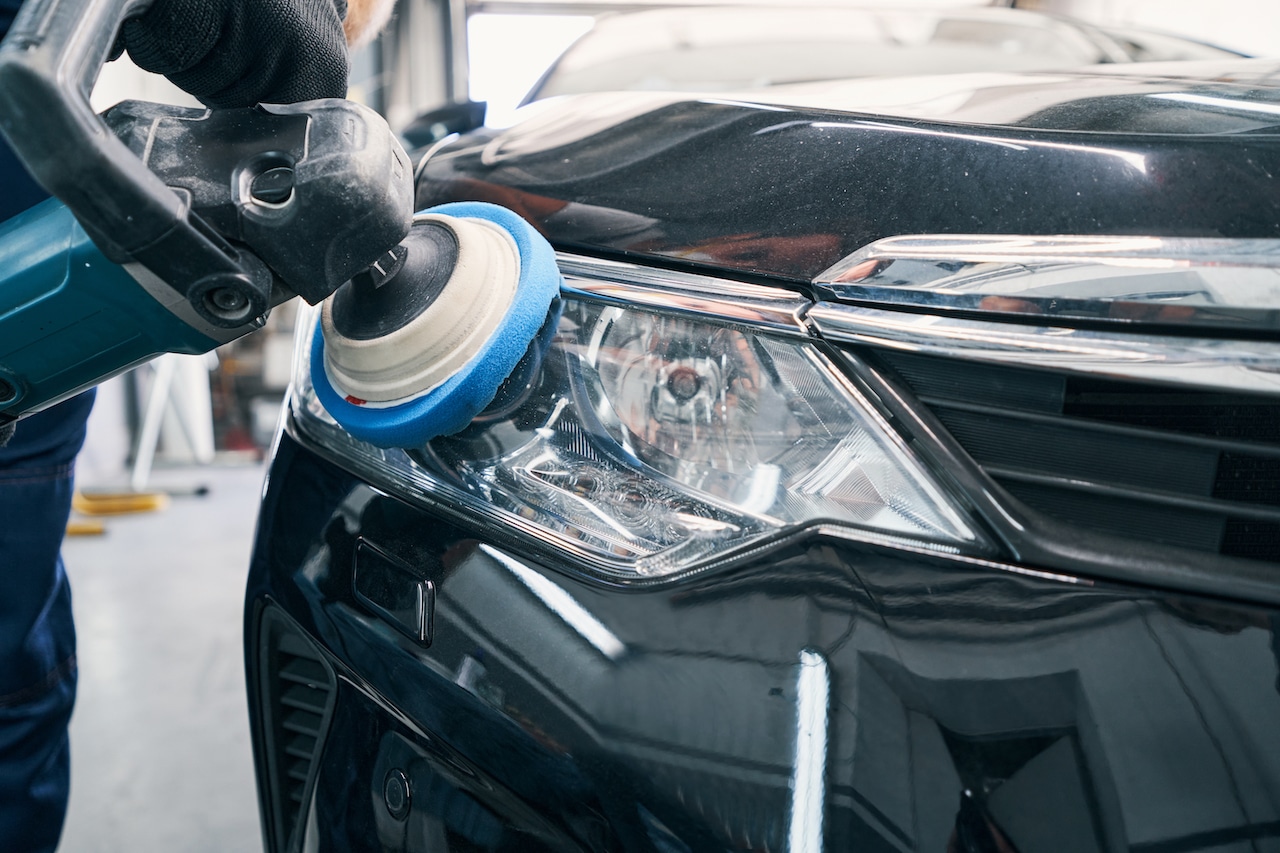
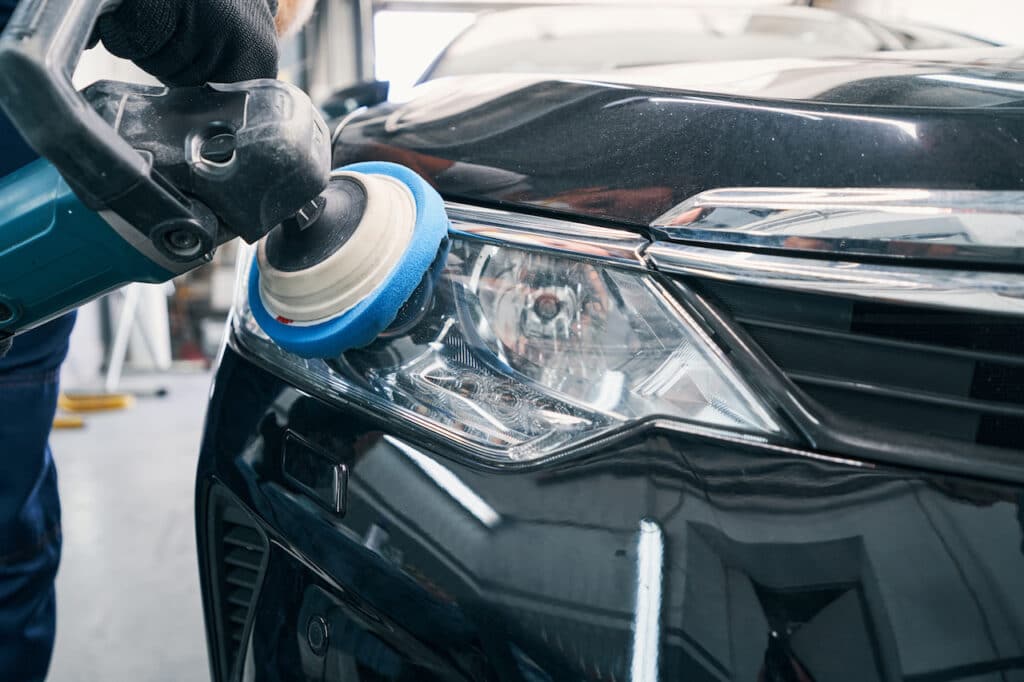
- If you're using a drill with a polishing pad, keep the speed low to avoid burning the plastic
- Test any product on a small area first to make sure it doesn't cause damage
- Patience pays off; rushing through the steps usually leads to mediocre results
Honestly, the biggest lesson I've learned is that headlight care is just like any other part of car maintenance. A little effort on a regular basis saves you a lot of money and hassle down the road.
Frequently Asked Questions
Can I use vinegar alone to clean car headlights?
Vinegar works well as part of a mix with baking soda, but using it alone won't remove heavy oxidation. It's best for light surface grime and mineral deposits.
How long does a headlight restoration last?
If you apply a proper UV sealant, the results can last anywhere from six months to two years, depending on weather conditions and how much sun exposure your car gets.
Is it safe to use a drill buffer on headlights?
Yes, but use a low speed and a soft foam pad. High speeds can create friction heat that damages the plastic.
What's the cheapest way to clean headlights?
The cheapest method is the baking soda and vinegar paste, which uses items most people already have in their kitchen.
Why do my headlights get cloudy so fast after cleaning?
Without a protective UV coating, the plastic is exposed to the elements and will start oxidizing again. Always finish any cleaning job with a sealant or wax designed for headlights.
Bringing It All Together
Cleaning your car headlights doesn't have to be complicated or expensive. Whether you reach for baking soda, toothpaste, or a full restoration kit, the goal is the same: restore clarity, improve safety, and make your car look newer. From my own experience, regular maintenance and a good UV sealant are the real secrets to keeping headlights clear for the long run. Try one of these methods this weekend, and you'll be amazed at the difference. If you found this guide helpful, feel free to share it with fellow car owners or drop a comment with your favorite cleaning tip!