How To Build A Vacuum Cleaner Repair Shop At Home: 2026 Guide
Setting up a vacuum cleaner repair shop at home is a practical way to earn income by creating a dedicated workspace, gathering essential tools, and learning to fix common issues like clogs, broken belts, and motor problems.
I still remember the day I fixed my first vacuum cleaner. It was a beat-up old Dyson my neighbor left on my porch with a note that said, "It just stopped working one day." I had no idea what I was doing, but I opened it up, found a clogged hose, and within an hour it was running like new. That small moment sparked something in me. I started fixing more vacuums, and people began asking if I could take a look at theirs too. Before long, I had a steady stream of customers showing up at my door. That is how my home-based vacuum cleaner repair shop was born, and it changed my life.
If you have ever thought about turning a simple skill into a real business, this guide is for you. Building a vacuum cleaner repair shop at home is one of the smartest ways to start a low-cost, high-demand business. Vacuums are something every household owns, and they break down often. Whether you are a DIY enthusiast or someone looking to escape the 9-to-5 grind, starting a vacuum repair business from your garage, basement, or spare room can be the beginning of something truly rewarding. Let me walk you through exactly how I did it, and how you can do it too.
Why a Home-Based Vacuum Cleaner Repair Shop Is a Smart Business Move
Before we jump into the how, let me share why this business model works so well, especially in today's economy. I have been running my own shop for over five years now, and the reasons I love it are the same reasons others should consider it.
First, the startup cost is incredibly low. You do not need a fancy retail space or expensive equipment to get started. Most of the tools you need can be found in a basic toolkit, and many replacement parts are affordable and easy to source. Compared to opening a traditional repair store, your overhead is just a fraction of the cost.
Second, vacuum cleaners are everywhere. From uprights and canisters to handhelds and robot vacuums, there is no shortage of devices that need fixing. I see at least three to five units come through my shop every week, and during spring cleaning season, that number doubles.
Third, you get to work from home. I get to set my own hours, spend more time with my family, and avoid the stress of commuting. Plus, my "office" has a coffee machine and no dress code, which is a win in my book.
Finally, the demand is steady. People are keeping their appliances longer to save money, which means more repairs and more customers for you. It is a sustainable business that grows with your reputation.
Essential Tools and Equipment You Need to Get Started
When I first started, I made the mistake of buying every gadget I could find. Do not do that. You only need a focused set of tools to handle 90% of vacuum repairs. Here is what I recommend based on years of trial and error.
Basic hand tools are your foundation. You will need a set of screwdrivers, including Phillips and flathead in multiple sizes. Pliers, wire cutters, and a utility knife are also must-haves. A multimeter is essential for testing electrical components like motors and switches.
A good workbench is critical. I use a sturdy metal table with a vice attached. It gives me a solid surface to disassemble and reassemble vacuums without bending over or working on the floor.
For specialized tools, consider getting a soldering iron for fixing wiring issues, a small vacuum pump for testing suction, and a brush set for cleaning components. An air compressor is also helpful for blowing out dust and debris.
When it comes to parts, start with a basic inventory. Stock common items like belts, filters, hoses, brushes, motors, and switches. You can source these from online suppliers, local electronics stores, or even salvage parts from old vacuums.
Do not forget about organization. I use plastic bins and a pegboard to keep my tools and small parts sorted. Trust me, when you are looking for a tiny screw in the middle of a repair, you will thank me for this tip.
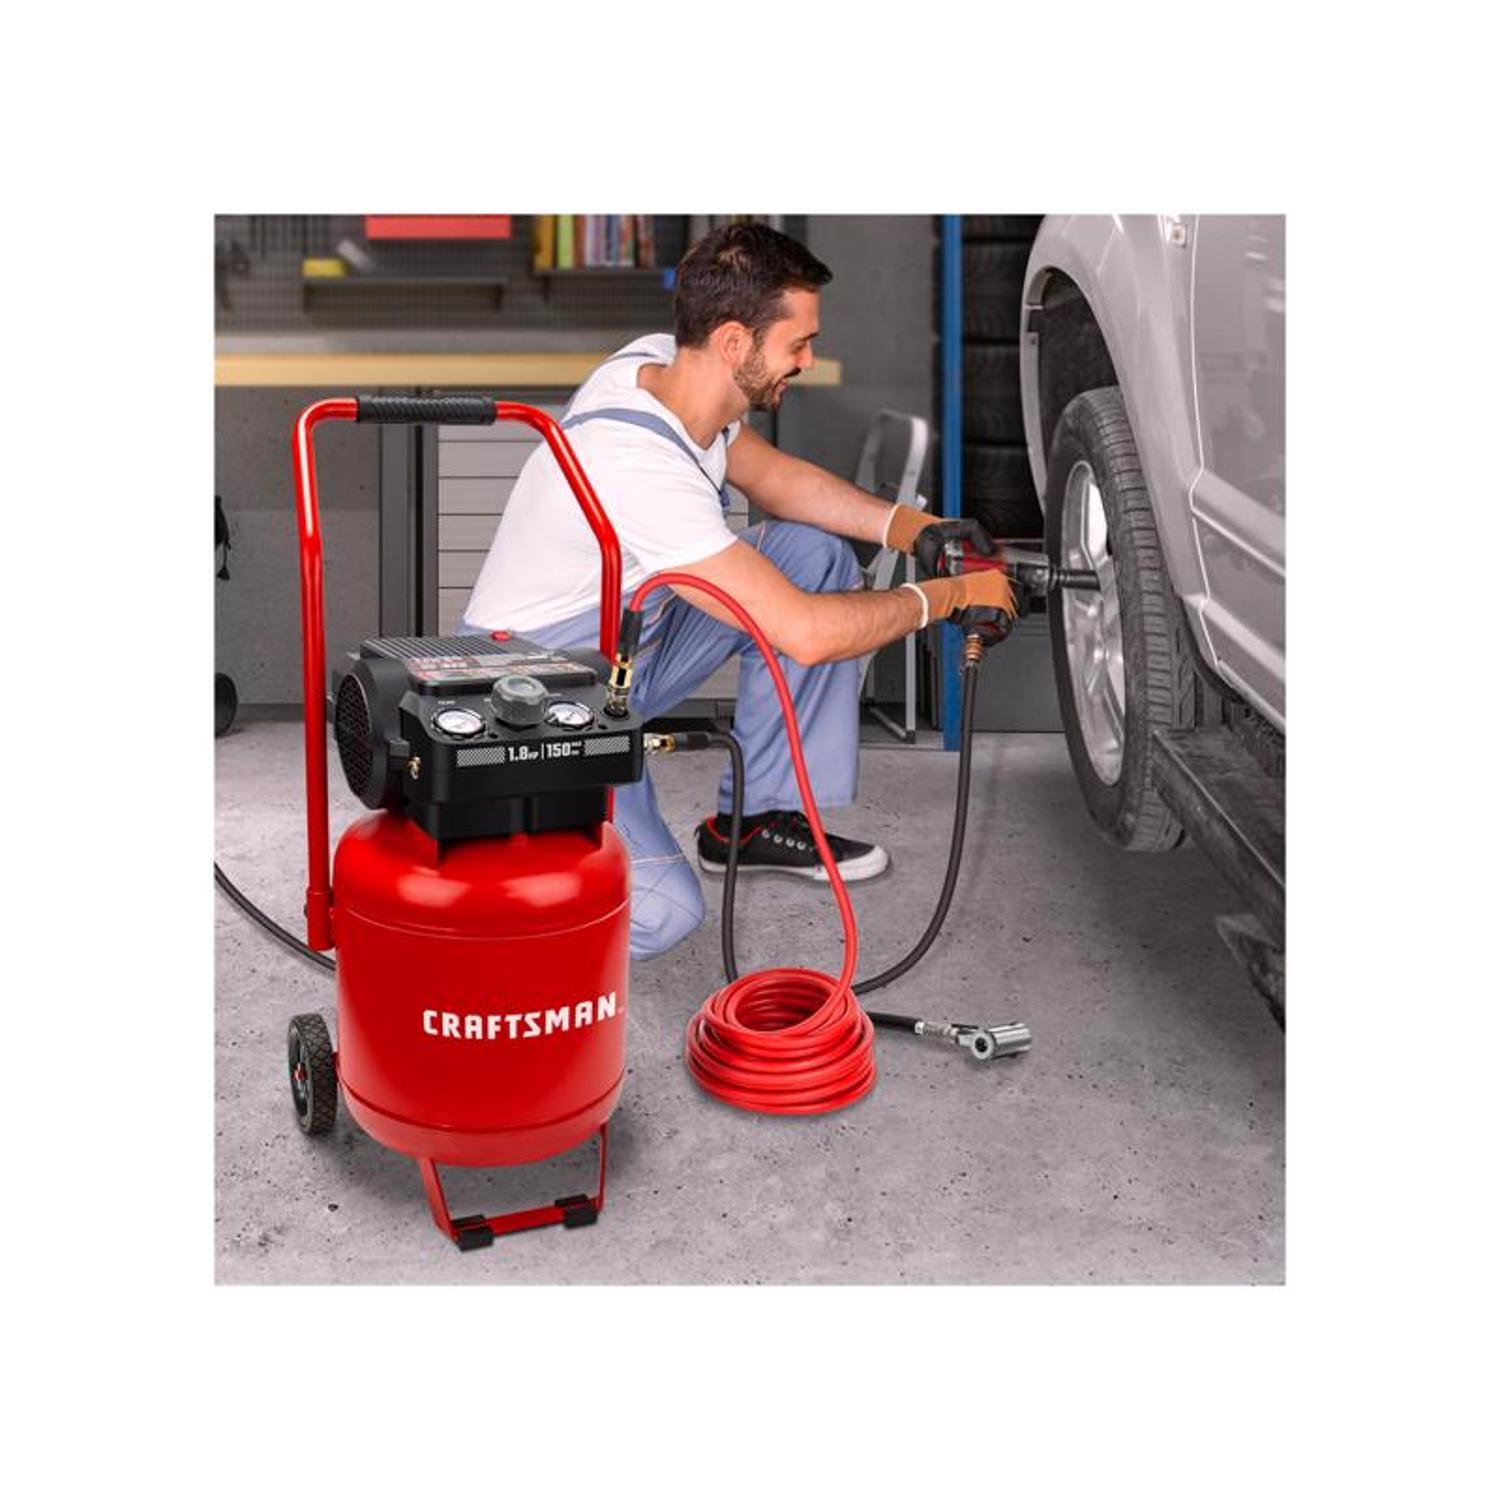
Setting Up Your Home Repair Shop Workspace
Your workspace does not need to be huge, but it does need to be functional. I started in my garage with just a card table and a few tools. Over time, I upgraded, but the space has always been simple and efficient.
Choose a spot that is well-lit and ventilated. Garages, basements, and spare rooms work great. Make sure you have enough room to lay out a vacuum without it being cramped. Good lighting is a must, so invest in a bright LED work light if your space is dim.
Flooring matters more than you think. I added rubber mats to my garage floor to reduce strain on my back and knees during long repair sessions. It also helps keep the area clean.
Electrical access is important. You will need outlets for testing vacuums, charging batteries, and running tools. If your space does not have enough outlets, consider hiring an electrician to add a few. It is a small investment that pays off in safety and convenience.
Storage is another key factor. I installed shelves along one wall to hold parts, manuals, and completed repairs waiting for pickup. A filing cabinet helps me keep track of customer information and repair records.
Finally, make it professional. Even if it is a home shop, I painted the walls, added a sign, and kept the area spotless. When customers come by, they see a real business, not a cluttered mess. That builds trust and credibility.
Learning the Skills: What You Need to Know to Fix Vacuums
You do not need a degree in electronics to repair vacuums, but you do need a solid understanding of how they work. When I started, I knew almost nothing. I learned by doing, watching YouTube videos, and reading repair manuals. Here is what you should focus on.
Start with the basics. Understand the different types of vacuums, including upright, canister, stick, handheld, and robot models. Each has its own common issues and repair approaches.
Learn to diagnose problems. The most common issues I see are loss of suction, strange noises, broken belts, clogged hoses, and motor failure. Practice identifying these by inspecting filters, checking for blockages, and listening for unusual sounds.
Electrical safety is non-negotiable. Vacuums run on electricity, and mistakes can be dangerous. Always unplug units before working on them, and use your multimeter to check for live wires. If you are unsure about something, do not guess. Look it up or ask an expert.
Practice on broken units. Before I started charging customers, I fixed a dozen or so vacuums for free. I picked them up from thrift stores, garage sales, and even trash piles. This gave me hands-on experience without the pressure of a paying customer.
Take a course or two. There are great online resources and even local vocational classes that teach small appliance repair. They are affordable and can fast-track your learning curve.

Finding Customers and Growing Your Business
Having the skills is one thing, but finding customers is where the real work begins. I learned this the hard way. In the beginning, I waited for people to find me, and that did not work. Here is how I turned things around.
Start with your network. Tell your friends, family, and neighbors that you repair vacuums. Word of mouth is the most powerful marketing tool, especially for a local service. My first five customers all came from personal connections.
Use social media. I created a simple Facebook page and an Instagram account for my shop. I post before-and-after photos, repair tips, and special offers. It is free, and it works. Most of my new customers now find me online.
List your business on local directories. Sites like Google My Business, Yelp, and Craigslist help people in your area find your services. Make sure your contact info and hours are up to date.
Offer pickup and delivery. Many of my customers do not have time to bring their vacuums to me, so I offer to pick them up and drop them off. It is a small convenience that makes a big difference.
Join local groups. Community Facebook groups, neighborhood apps like Nextdoor, and even local church bulletins are great places to promote your services. I post a monthly reminder that I am available for vacuum repairs.
Price your services competitively. When I started, I researched what other repair shops charged and priced my services slightly below them. As I built a reputation, I was able to increase my rates. Now I charge a fair price for quality work, and customers are happy to pay it.
Common Repairs You Will Handle and How to Fix Them
Let me walk you through the most common repairs I do on a weekly basis. These are the bread and butter of my business, and mastering them will set you up for success.
Loss of suction is the number one issue. The fix is usually simple. Start by checking the filter. A clogged filter is the most common cause. Clean or replace it. Next, inspect the hose for blockages. I use a long flexible brush or even a broom handle to push out debris. Finally, check the bag or canister. A full bag or empty canister is often overlooked but can cause major suction loss.
Broken belts are another frequent problem, especially in older uprights. If the brush roll is not spinning, the belt is likely broken or stretched. Open the bottom plate, remove the old belt, and replace it with a new one. Make sure you get the right size. I keep a variety of belts in stock at all times.
Strange noises usually mean something is stuck or a bearing is worn out. I start by turning the vacuum over and inspecting the brush roll. Hair and string often get tangled around it, causing rattling. Remove the debris and check for damage. If the noise persists, the motor bearings may be worn, and the motor might need replacement.
Electrical issues can be tricky but are manageable. If a vacuum will not turn on, check the power cord for damage, test the outlet, and use your multimeter to check the switch and motor. Sometimes a loose wire is all it takes to fix the problem. I always carry extra wire, connectors, and electrical tape in my kit.
Hose damage is common in older units. Cracks or holes in the hose reduce suction and can leak dust. I use a repair tape designed for vacuum hoses, or if the damage is bad, I replace the hose entirely. I keep a few universal hoses on hand for quick swaps.

Managing Your Business Like a Pro
Once the repairs are rolling in, you need to treat your shop like a real business. I learned this after my first year, when I realized I was working hard but not keeping track of my money. Do not make the same mistake.
Keep simple records. I use a notebook and a spreadsheet to track each repair. I log the customer's name, contact info, the problem, parts used, labor time, and total cost. This helps me stay organized and provides data for pricing and inventory decisions.
Set clear pricing. I have a standard labor rate and charge separately for parts. This makes it easy to quote jobs and keeps my pricing transparent. I always give customers an estimate before starting work.
Build a repair turnaround policy. Most of my repairs take one to three days, depending on parts availability. I set clear expectations with customers upfront. If a part needs to be ordered, I let them know the timeline right away.
Get business insurance. Even a home-based shop should have liability insurance. It protects you if something goes wrong, like a vacuum catching fire after a repair. It is affordable and gives you peace of mind.
Collect payments easily. I accept cash, checks, and digital payments like Venmo and PayPal. Some customers prefer credit cards, so I added a small card reader. Make it easy for people to pay you, and you will get paid faster.
Avoiding Common Mistakes When Starting Out
I have made plenty of mistakes over the years, and I want to save you from the same headaches. Here are the biggest ones to watch out for.
Do not undercharge. When I started, I was so afraid of losing customers that I charged way too little. I was working 60-hour weeks and barely breaking even. Know your worth and price your services accordingly.
Do not skip safety. I once got a mild shock because I forgot to unplug a unit before testing it. It was a wake-up call. Always follow safety protocols, no matter how simple the repair seems.
Do not ignore customer service. How you treat your customers determines whether they come back. I always explain the problem, the fix, and how to prevent future issues. I follow up a week later to make sure everything is working well. That small gesture has earned me dozens of repeat customers.
Do not overstock parts. In the beginning, I bought every part I could find, thinking I needed them. Most sat in boxes for years. Start with the most common parts and build your inventory based on actual demand.
Expanding Your Services and Scaling Up
Once your shop is running smoothly, you might want to grow. I started with just vacuums, but over time I added other small appliances like carpet cleaners, steam mops, and even fans. It was a natural progression, and my customers loved the convenience.
You can also offer maintenance services. I created a seasonal tune-up package where I clean filters, check belts, and inspect hoses. It is a great way to generate recurring revenue and keep vacuums running longer.
Another option is to sell refurbished vacuums. I pick up broken units, fix them up, and sell them at a discount. It is a nice side hustle that uses parts and skills I already have.
If you want to go bigger, you can rent a small commercial space or hire an assistant. I hired my nephew part-time to help with pickups and deliveries. It freed me up to focus on repairs and grow the business.
Frequently Asked Questions
What is the average cost to start a home vacuum repair shop?
You can start with as little as 500 to 1,000 dollars if you already have basic tools. This covers initial parts inventory, a simple workbench setup, and marketing materials. As you grow, reinvest your profits into better equipment and expanded services.
Do I need a license or certification to repair vacuums at home?
In most areas, you do not need a special license for small appliance repair. However, it is smart to check your local regulations and consider getting general liability insurance. Some regions may require a basic business license, so verify with your city or county.
How long does it take to learn vacuum repair?
With consistent practice, you can learn the basics in a few weeks and become proficient within three to six months. I recommend starting with simple repairs like belt and filter replacements before moving on to motors and electrical work.
Can I make a full-time income from a home vacuum repair shop?
Yes, many home-based repair shops generate 3,000 to 6,000 dollars per month after the first year. Your income depends on your location, marketing efforts, and the volume of repairs. Busy seasons like spring and holidays can bring in even more.
What types of vacuums should I learn to repair first?
Start with uprights and canisters, as they are the most common. Once you are comfortable, expand to stick vacuums, handheld models, and eventually robot vacuums. Brands like Dyson, Shark, and Hoover are popular, so learning those models is a good starting point.
Turning a Skill Into a Life-Changing Business
Building a vacuum cleaner repair shop at home is more than just a way to make money. It is a chance to take control of your career, help your community, and build something truly your own. I went from fixing one broken Dyson on my porch to running a thriving business that supports my family, all from the comfort of my home.
The best part is that you do not need a huge investment or years of training to get started. With a few tools, some basic knowledge, and a commitment to doing good work, you can launch a business that grows with you. Every vacuum you fix is a step toward financial freedom and personal fulfillment.
If you have been thinking about starting your own business, I hope this guide has shown you that it is possible. Take the first step today, whether it is setting up a workspace, watching a repair video, or telling a friend about your new venture. The journey starts with a single repair, and before you know it, you will be running a business you are proud of. Got questions or want to share your own story? Drop a comment below. I would love to hear from you.