What To Do After Oven Self Cleans: Essential 2026 Guide
After a self-cleaning cycle, let the oven cool completely, wipe out ash, ventilate the kitchen, and run a short empty bake to clear residue.
You just hit "start" on your oven's self-clean cycle, watched it do its thing, and now you're staring at the oven wondering what comes next. Honestly, you're not alone. Most people run that cycle, then just shut the door and hope for the best. But here's the deal: what you do in the first 30 minutes after the self-clean ends matters more than you think. Skip the right moves, and you could end up with lingering smoke, stubborn ash, or even damage to your oven's heating elements. Let me walk you through exactly what to do after your oven self-cleans, so you keep your kitchen safe, your oven working like new, and your dinner plans on track.
Wait for the Oven to Cool Down Completely
The first rule after a self-clean cycle is patience. I know it's tempting to open the door right away and see the magic, but trust me, don't do it. The oven interior can hit temperatures around 880°F during the cleaning cycle. Even after the cycle ends, the oven stays dangerously warm for a while.
Most manufacturers recommend waiting at least 1 to 2 hours before opening the door. Some newer models actually lock the door automatically until the interior drops to a safe temperature, usually around 300°F or less. You'll usually hear a click or see a light indicator telling you it's safe to open.
If you open it too soon, you risk burns, warped racks, or even cracking the glass door from the sudden temperature change. I learned this the hard way years ago when I yanked open my oven about 20 minutes after the cycle ended. The blast of hot air singed my eyebrows and scared my cat halfway across the house. Not my finest moment. Give it time. Your oven will thank you.

Ventilate Your Kitchen Thoroughly
Even though the self-clean cycle is done, your kitchen can still smell like a campfire for hours. That burnt, smoky odor is normal. It's just leftover particles and fumes escaping as the oven cools. The good news is, it's easy to manage if you prep ahead.
Open a few windows or turn on your kitchen exhaust fan before you even start the cycle. This helps push the fumes out while the oven is running. After the cycle ends, keep that airflow going. If you have a ceiling fan, switch it on. If the weather's nice, crack open a back door too.
Some people even place a box fan in the kitchen doorway to blow air out. That's overkill for most situations, but it works if you're sensitive to smoke smells. One thing I always do is light a candle or two once the oven has cooled. It helps knock down that burnt food smell fast.

Wipe Out the Ash and Residue
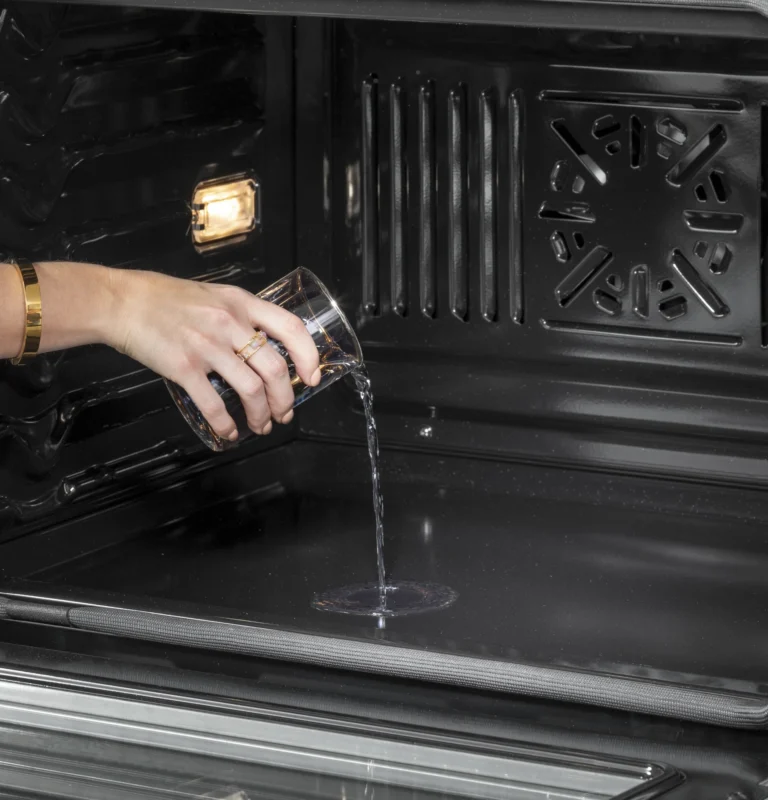
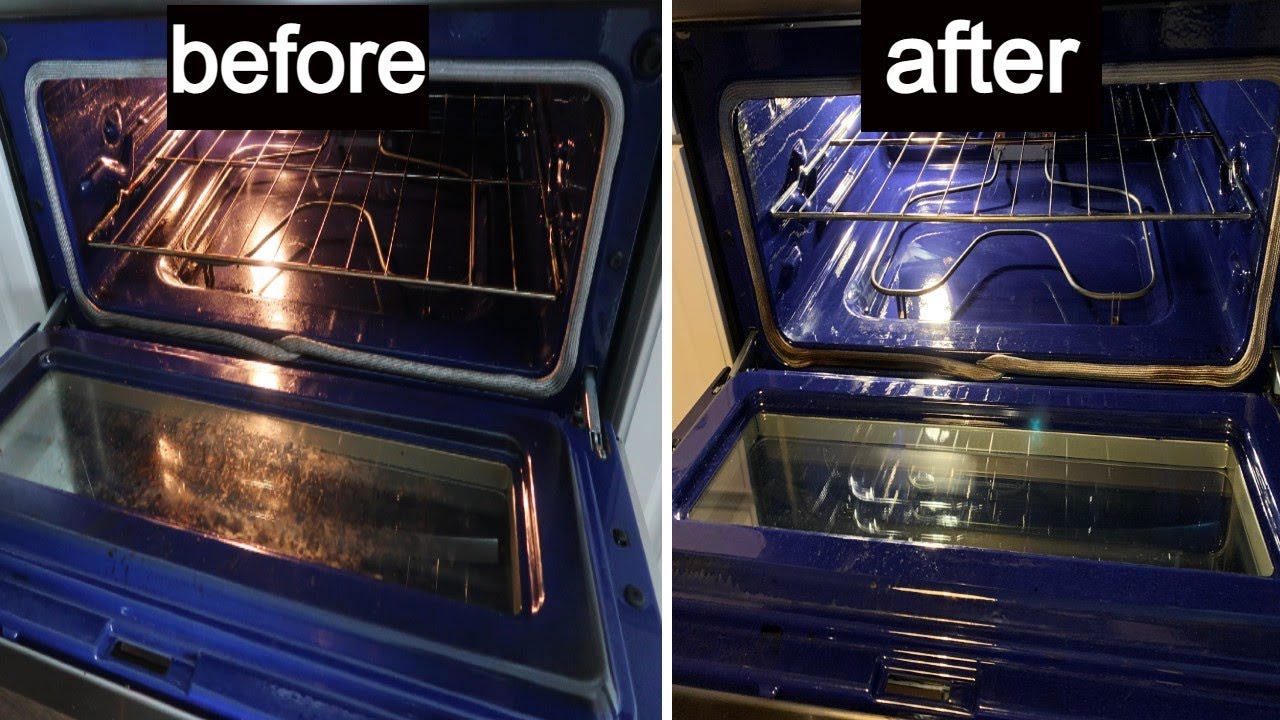
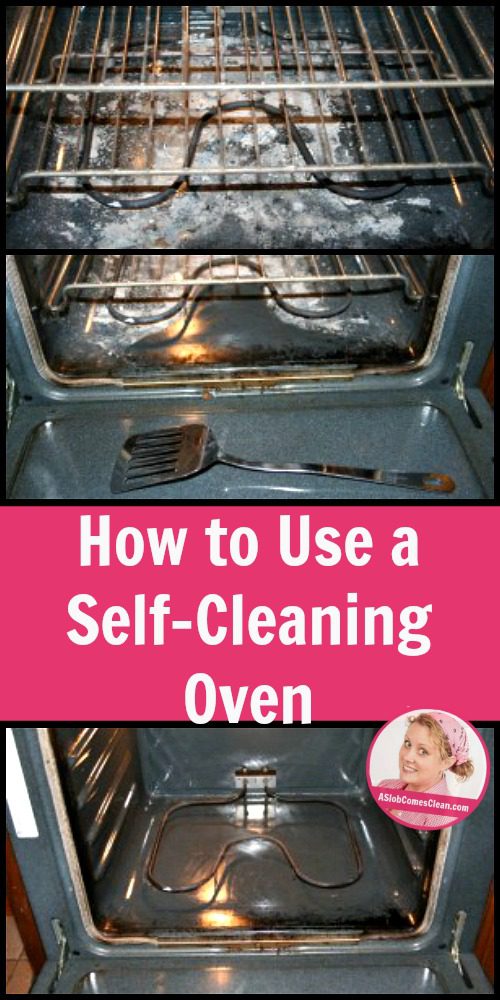
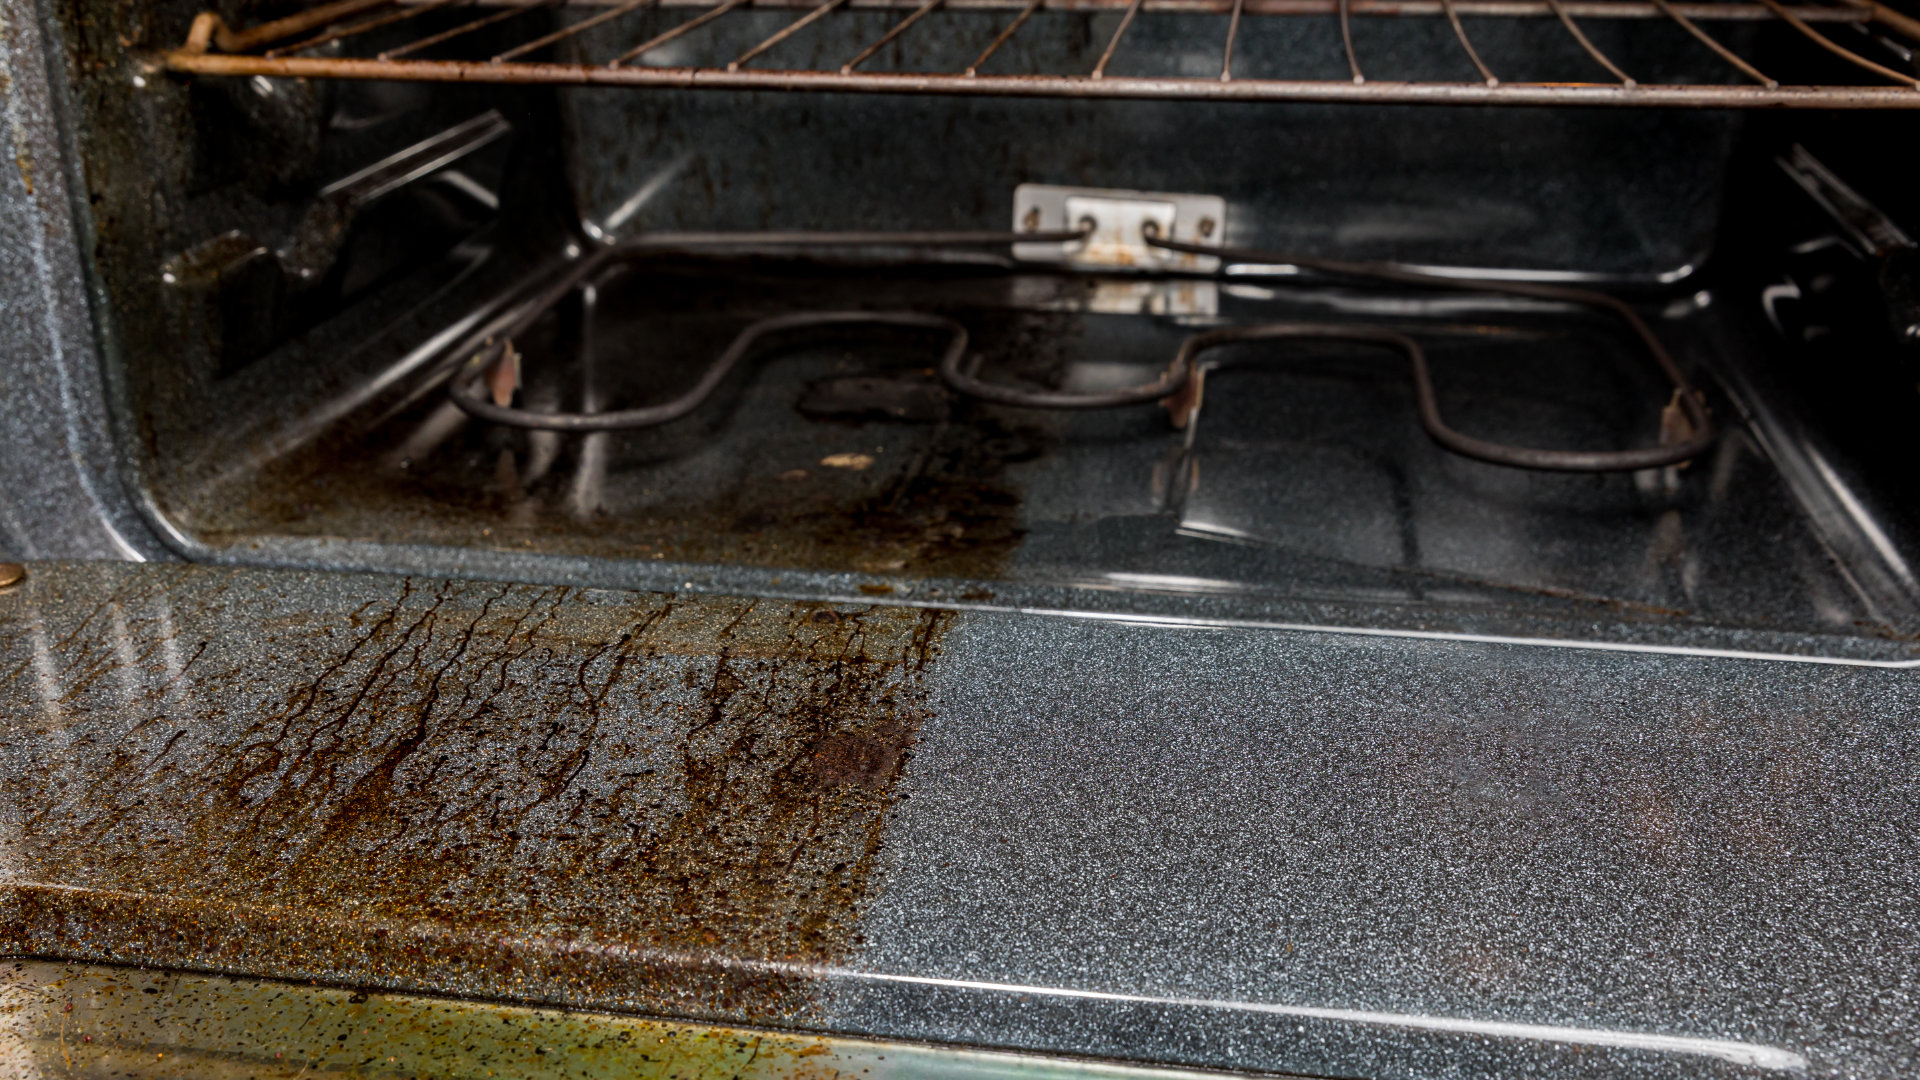
Once your oven has cooled down and you've aired out the kitchen, it's time for the fun part: cleaning out the ash. The self-clean cycle burns food spills and grease down to a fine, powdery ash. It's basically the only good thing about the whole process.
Grab a damp cloth or sponge and wipe the interior from top to bottom. Don't use a vacuum cleaner unless it's specifically designed for ash. Regular vacuums can clog or even catch fire from fine ash particles. A microfiber cloth works best because it picks up the powder without spreading it around.
You might see some white or grayish ash in the corners or along the door edges. Get into those tight spots with a soft brush or an old toothbrush. If there's any baked-on residue that didn't burn off, a little baking soda paste works wonders. Just make a quick mix of baking soda and water, dab it on the spot, let it sit for 15 minutes, then wipe clean.
Don't forget the oven door glass. Sometimes the inside of the window gets a cloudy film. A quick wipe with a damp cloth usually clears it right up. If not, a little vinegar spray does the trick.
Clean or Reinsert the Oven Racks
Here's a question I get all the time: should you leave the racks in during the self-clean cycle? Most manufacturers say yes, it's fine. But after the cycle, those racks can look a little chalky or dull. That's normal.
Pull the racks out and give them a good wipe down with a damp cloth. If they're really grimy, soak them in hot, soapy water in your sink for about 30 minutes. Then scrub with a non-abrasive sponge. Avoid steel wool because it can scratch the rack's finish.
Once they're dry, slide them back in. If you left them out during the cycle, now's the time to put them back. Make sure they're level and seated properly in the rack guides. I've seen people force racks in the wrong way and bend the supports. Take a sec to line them up right.
One tip: if your racks have any rust spots, the high heat of the self-clean cycle can make them worse. If you notice flaking or rust, consider replacing them soon. Most oven racks are pretty affordable and easy to swap out.
Run a Short Empty Bake Cycle
This step is optional, but I've found it makes a noticeable difference. After wiping out the ash, run your oven at a low temperature, around 250°F to 300°F, for about 15 to 20 minutes. This helps burn off any remaining residue or cleaning smells.
You'll probably notice a faint smell the first time you run it. That's totally normal. It's just the last bits of ash and any leftover cleaning solution evaporating. Open your kitchen windows again and let it air out.
Once the short bake is done, turn off the oven and let it cool. Now your oven is truly ready to use. I've done this after every self-clean for years, and my oven always smells fresh and clean when I'm done. It also gives me peace of mind that nothing weird is going on inside the oven cavity.
Check the Door Seal and Lock Mechanism
The self-clean cycle puts a lot of stress on your oven's door seal and lock. Once everything has cooled, take a close look at the rubber gasket around the door. It should be intact, flexible, and free of cracks or gaps.
If you see any damage, replace the seal as soon as you can. A bad seal lets heat escape, which messes with your cooking temps and drives up your energy bill. Most seals are easy to find online and only take a few minutes to swap out.
Also, test the door lock. Open and close the door a few times to make sure it latches smoothly. The lock should engage and disengage without sticking. If it feels off, check your owner's manual for troubleshooting tips. Sometimes the lock just needs a gentle push to reset after the cycle.
I had a lock issue once where the door wouldn't unlock after the cycle. I panicked and called a repair tech, but he walked me through unplugging the oven for 5 minutes and plugging it back in. The lock released right away. Sometimes the simplest fix is the best one.
Avoid Common Mistakes After Self-Cleaning
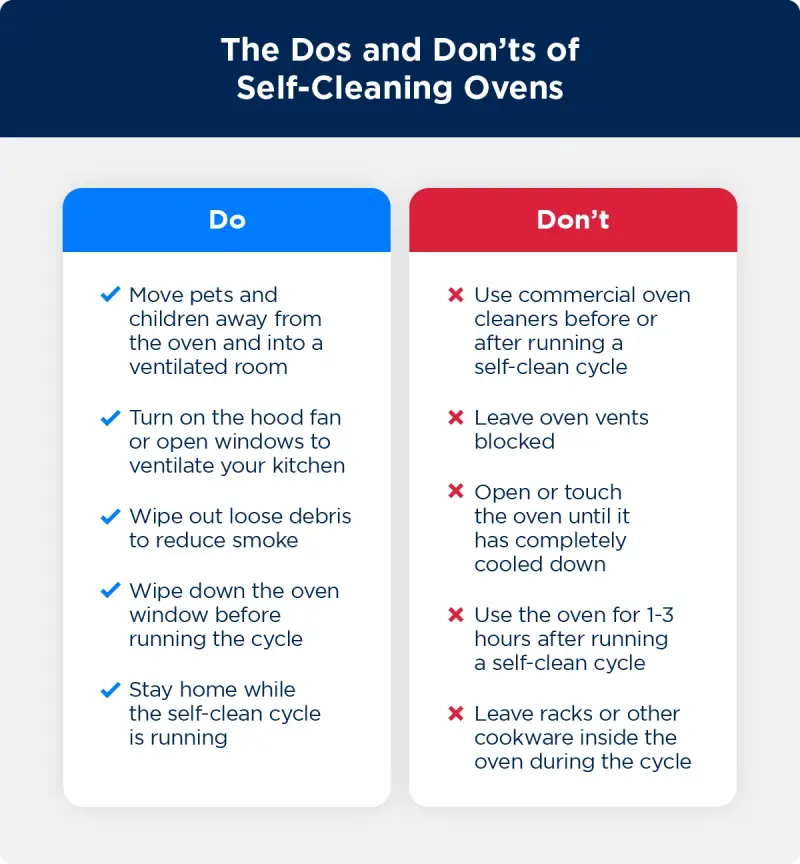
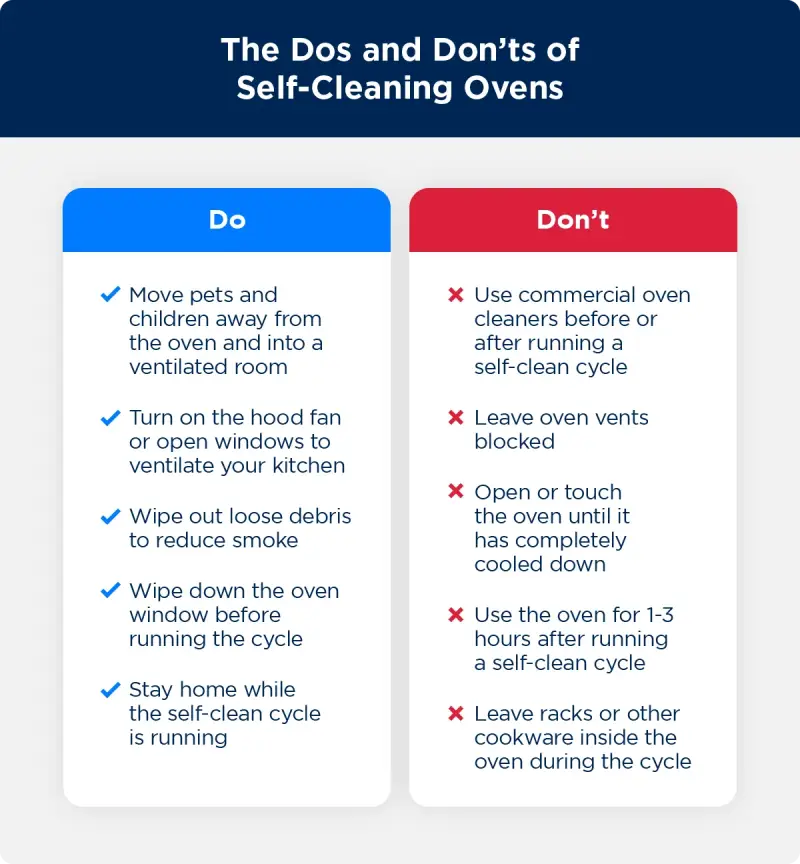
Let me save you from some of the mistakes I've made over the years. First, never use oven cleaner inside a self-cleaning oven. The cycle is the cleaner. Adding chemical cleaners can damage the interior coating or leave toxic residue.
Second, don't try to speed up the cooling process by opening windows or blasting the oven with cold air. Let it cool naturally. Sudden temperature changes can crack the glass or damage the enamel.
Third, skip the abrasive scrubbers. Steel wool, Magic Erasers, and harsh scouring pads can scratch the oven's interior. Stick to soft cloths, sponges, and mild cleaners like baking soda or vinegar.
Fourth, don't ignore smoke or strange smells. A little residual odor is normal. But if your oven is smoking heavily or smells like chemicals, something's wrong. Turn it off, ventilate, and call a pro if needed.
Finally, don't use the oven right away. Even after the cool-down and short bake, give it another hour or so to fully settle. Your first meal after a self-clean should be something simple, like toast or reheated leftovers. Save the big roasts for the next day.
Frequently Asked Questions
How long should I wait after the self-clean cycle ends?
Most ovens need 1 to 2 hours to cool down to a safe temperature. Many models lock the door until the interior drops below 300°F. Wait until you hear the lock click or see the indicator light go off before opening.
Can I use my oven immediately after self-cleaning?
It's best to wait until the oven is completely cool, then wipe out the ash and run a short empty bake cycle. After that, your oven is ready to use. Some cooks like to wait another hour just to be safe.
What if there's still smoke after the cycle?
A little smoke or odor is normal for the first hour or so. If smoke continues for more than a couple of hours, turn off the oven, ventilate your kitchen, and check for leftover debris or a damaged seal. Persistent smoke could signal a deeper issue.
Is it normal for the oven to smell like burnt plastic after self-cleaning?
Yes, this happens sometimes. It's usually just packaging materials, food residue, or insulation burning off. The smell should fade within a few hours. If it lasts longer, run a short empty bake cycle with the windows open to clear it out.
Should I leave the racks in or out during self-cleaning?
Most manufacturers say it's fine to leave the racks in. The high heat won't damage them. However, if your racks have a lot of buildup, take them out and clean them separately before running the cycle for better results.

Conclusion
Taking care of your oven after a self-clean cycle doesn't have to be complicated. Give it time to cool, air out your kitchen, wipe away the ash, check the racks and seal, and run a quick empty bake to freshen things up. These simple steps keep your oven running smoothly and extend its life for years to come. Treat your oven right, and it'll return the favor every time you bake, roast, or reheat. If you want more tips on kitchen appliance care or easy cleaning hacks, stick around and explore more of our guides. Your oven's ready when you are.