How to Make Jewelry Cleaner at Home: Easy DIY Guide 2026
You can make a simple jewelry cleaner at home by mixing warm water, mild dish soap, and a few drops of ammonia for a gentle yet effective solution.
There's something oddly satisfying about pulling out a favorite ring or necklace and realizing it looks dull, cloudy, or just not as sparkly as it used to. Maybe it's your grandmother's gold chain, your everyday silver studs, or the gemstone pendant you splurged on last year. Over time, body oils, lotion, sweat, and even air exposure can take a real toll on your jewelry's shine. The good news? You don't need to rush to a professional cleaner or buy expensive products to bring that sparkle back. With a few simple ingredients you probably already have in your kitchen or bathroom, you can make an effective jewelry cleaner at home that works for gold, silver, costume pieces, and even delicate gemstones. I've been cleaning my own jewelry this way for years, and trust me, once you see the results, you'll never look at commercial cleaners the same way again.
Why Homemade Jewelry Cleaner Works So Well
Most store-bought jewelry cleaners rely on harsh chemicals or abrasive agents that can actually damage softer metals or loosen settings over time. Homemade solutions, on the other hand, are usually gentler, cheaper, and surprisingly effective when used correctly. The key is understanding what kind of buildup you're dealing with. Tarnish on silver, for example, is caused by a chemical reaction with sulfur in the air, while gold tends to just collect grime and oil from your skin. Diamonds and other hard gemstones can get cloudy from lotion and soap residue. A good homemade cleaner tackles each of these problems without stripping away protective finishes or harming delicate materials. Plus, you control exactly what goes into the mix, which means no mystery chemicals, no strong fumes, and no risk of discoloring your favorite pieces.

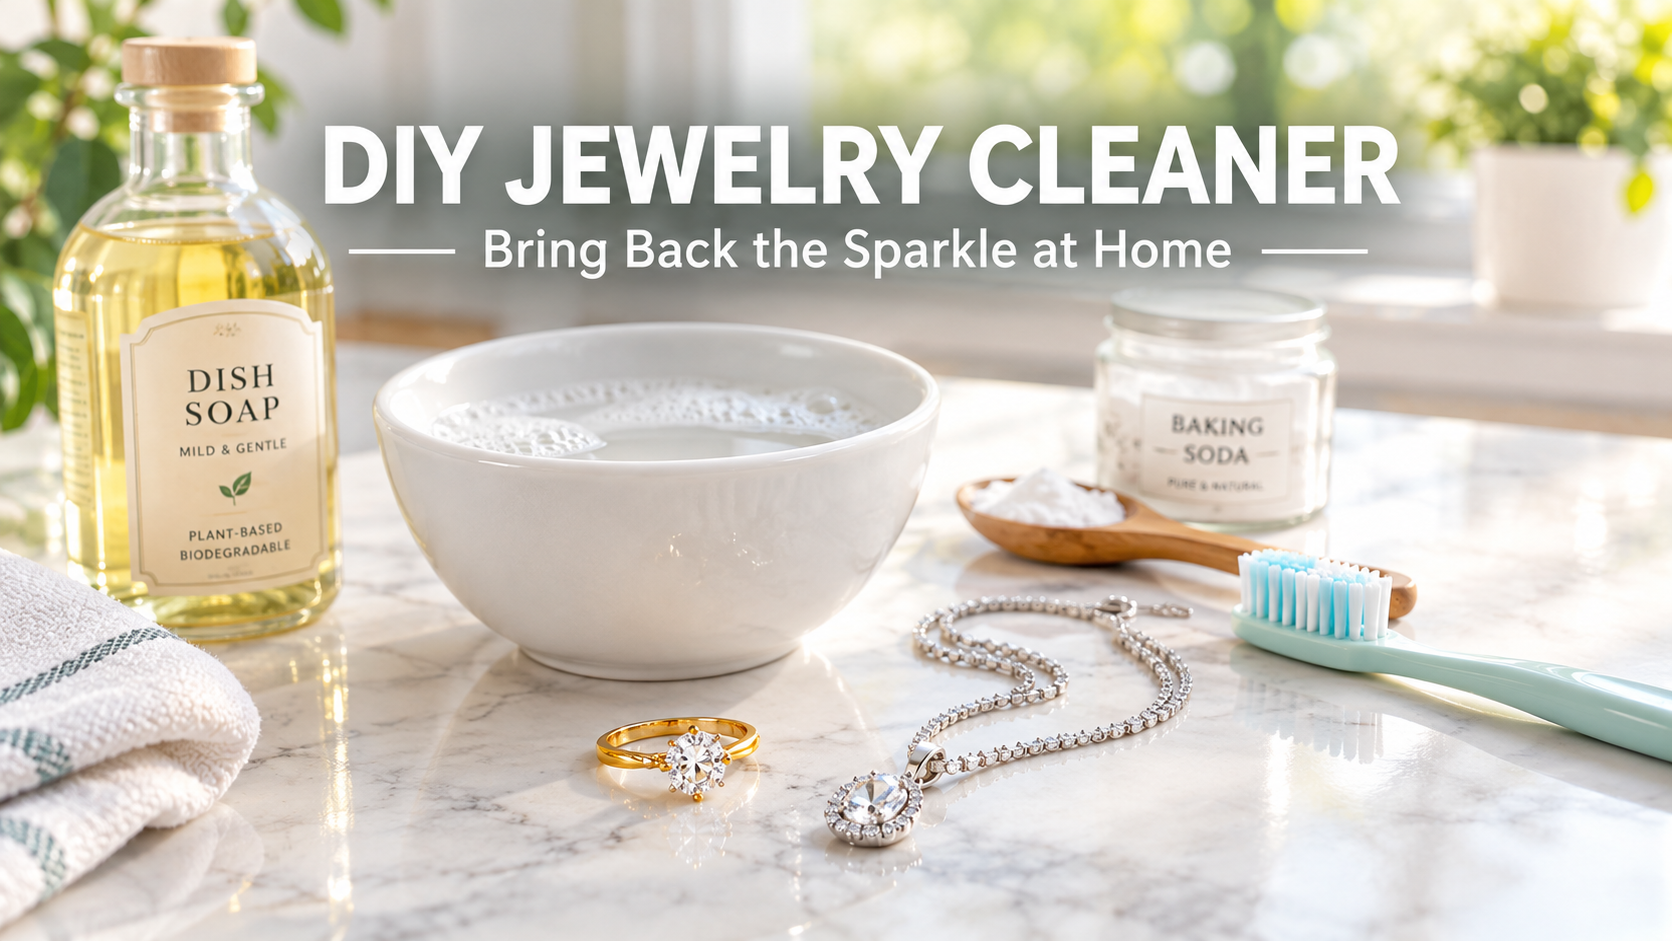
Basic DIY Jewelry Cleaner Recipe for Most Metals
This is the go-to recipe I use for gold, platinum, diamonds, and most hard gemstones. It's gentle enough for everyday pieces but strong enough to cut through months of built-up grime.
You will need:
- 1 cup of warm water
- 1 teaspoon of mild dish soap (something like Dawn works great)
- 1 teaspoon of household ammonia
- A small bowl
- A soft-bristled toothbrush
- A lint-free cloth
Instructions:
- Mix the warm water, dish soap, and ammonia in the bowl until everything is fully combined.
- Let your jewelry soak in the solution for about 15 to 20 minutes. This gives the mixture time to loosen any dirt or oil stuck in crevices.
- Use the soft toothbrush to gently scrub the piece, paying extra attention to prongs, settings, and any areas where grime tends to collect.
- Rinse the jewelry under warm running water to remove all the cleaning solution.
- Dry it thoroughly with a soft, lint-free cloth. I like to use a microfiber cloth because it doesn't leave fibers behind.
A quick tip from experience: always plug your sink drain or work over a bowl when rinsing. I once lost a small diamond earring down the drain because I got distracted, and let me tell you, that was a hard lesson learned. Now I always rinse inside a small mesh strainer just to be safe.

DIY Cleaner for Tarnished Silver
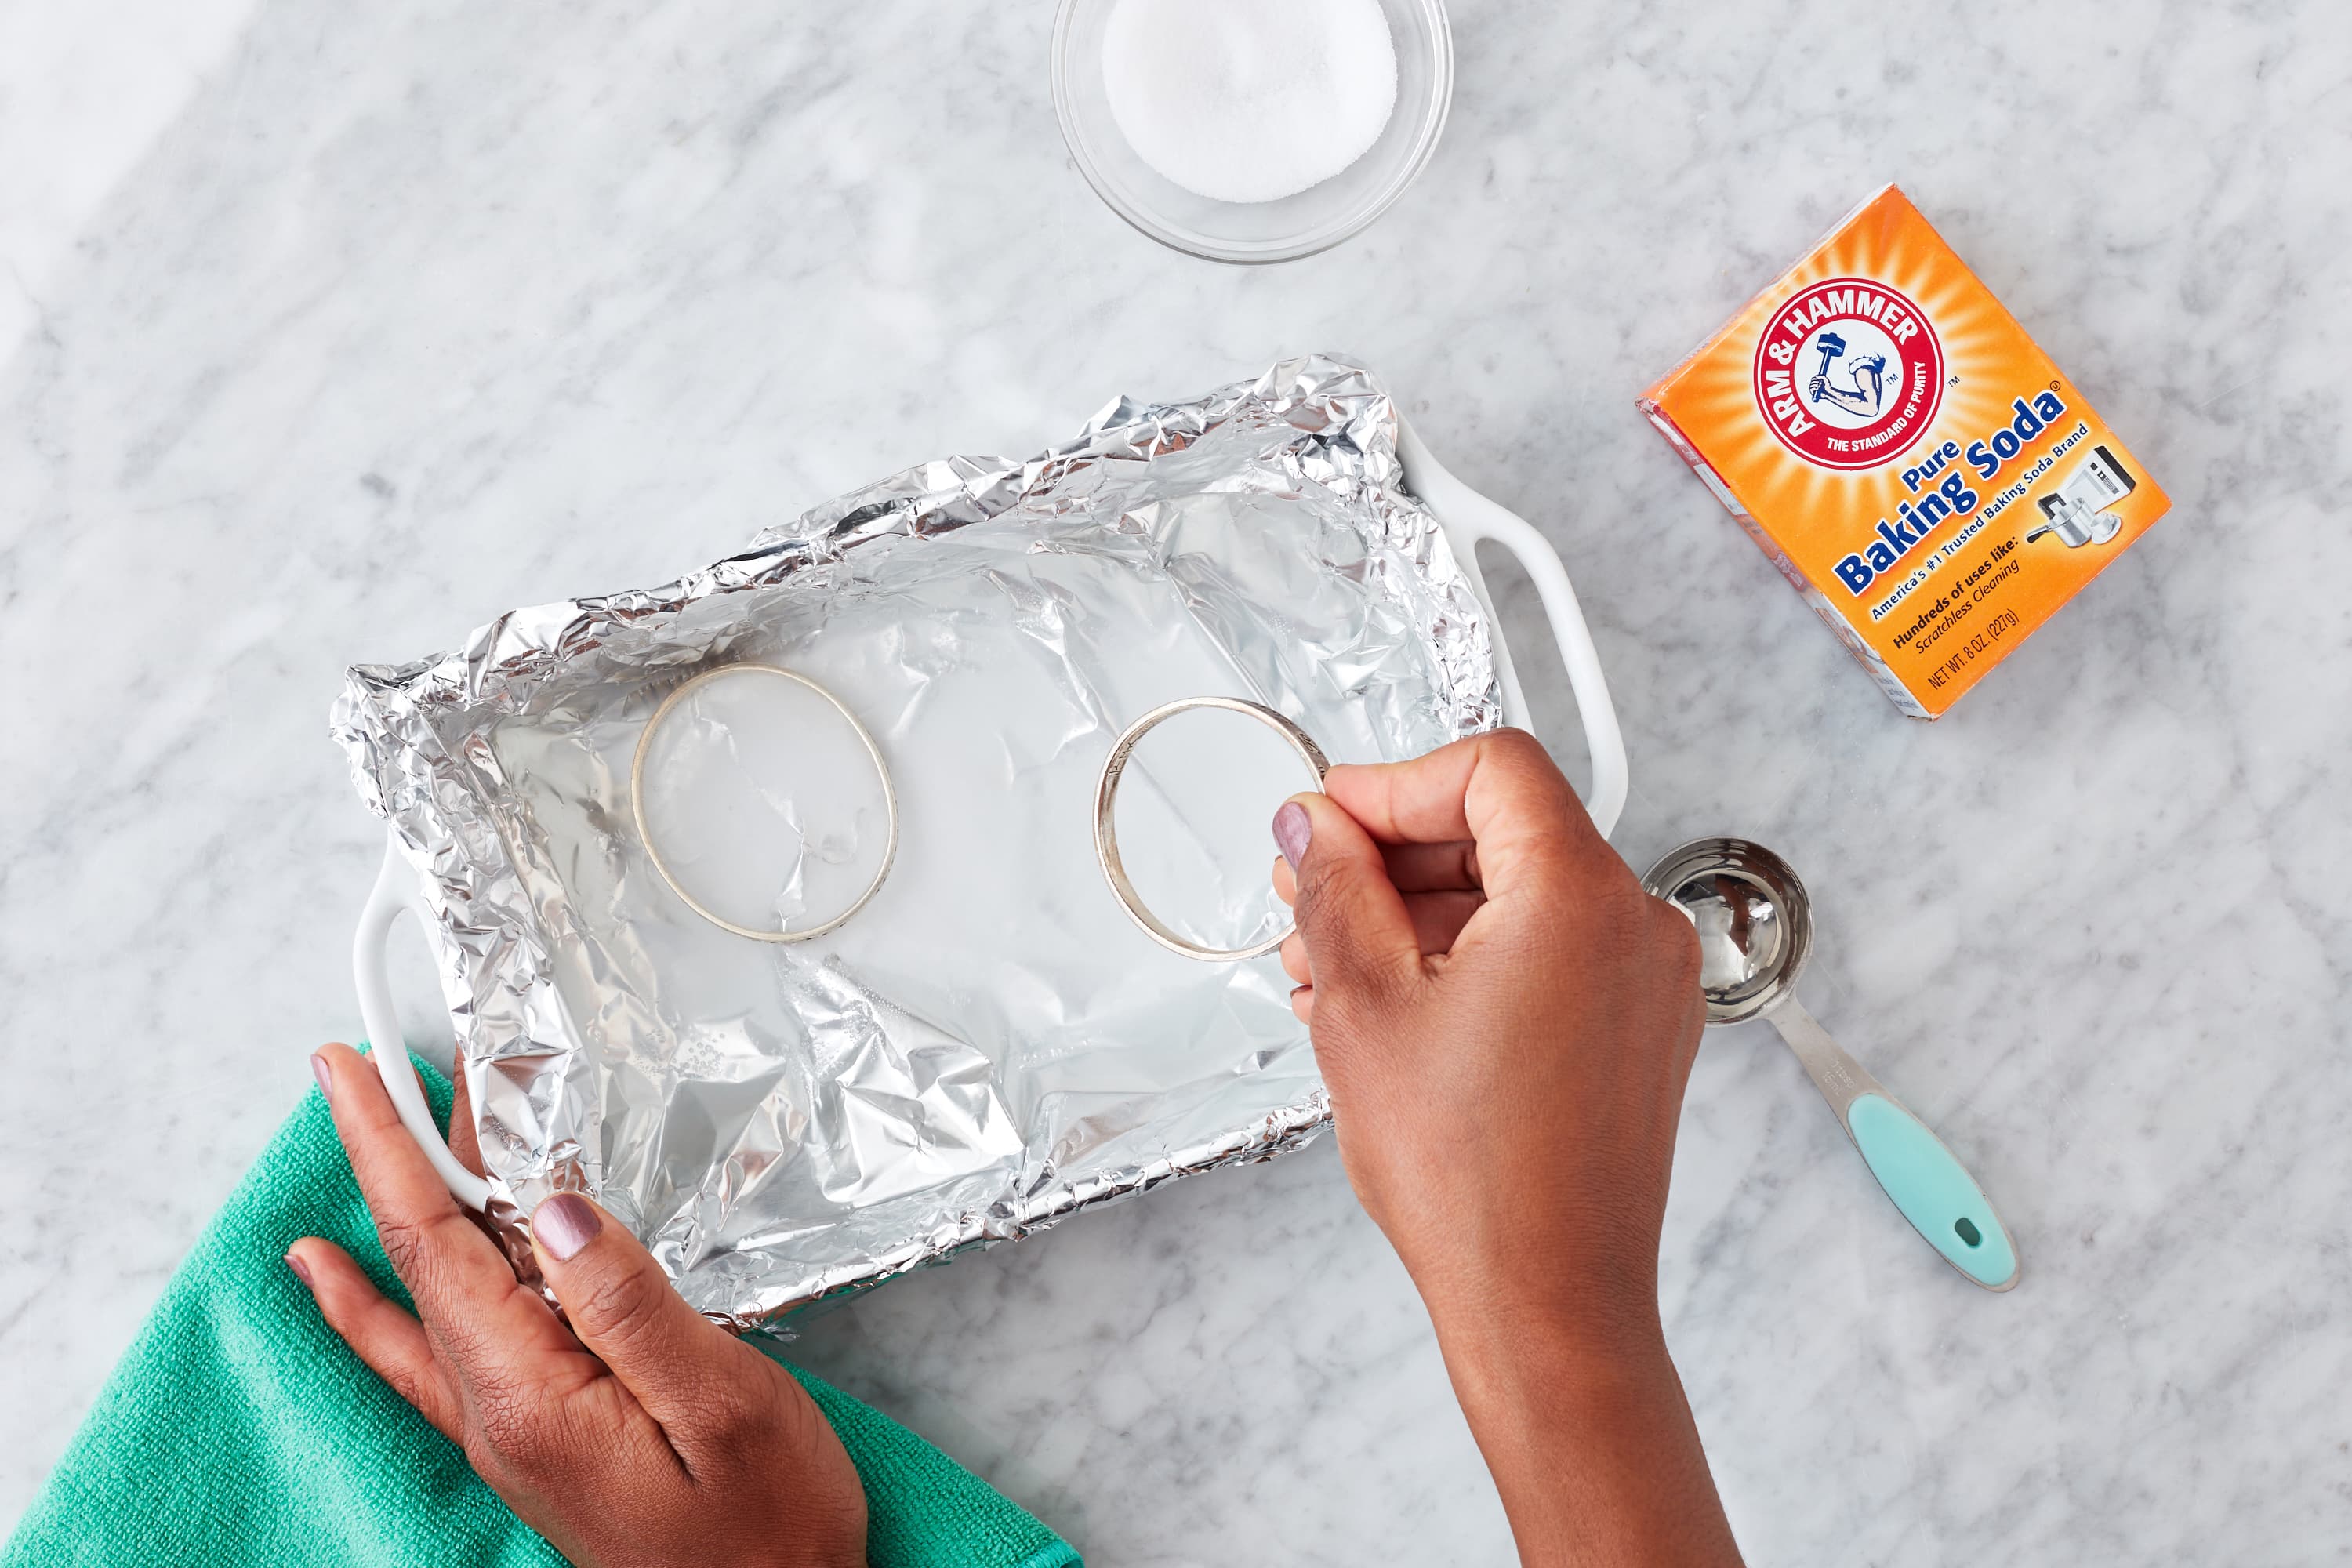
Silver is one of the trickiest metals to keep shiny because it tarnishes so easily. But there's a really cool chemical reaction you can use at home that basically reverses the tarnish without any scrubbing at all. This method uses a process called ion exchange, and it's the same science behind many professional silver cleaning products.
You will need:
- 1 tablespoon of baking soda
- 1 tablespoon of salt
- 1 cup of boiling water
- A piece of aluminum foil
- A glass or ceramic bowl
Instructions:
- Line the bowl with the aluminum foil, shiny side up.
- Place your silver jewelry directly on the foil.
- Sprinkle the baking soda and salt evenly over the pieces.
- Pour the boiling water over everything. You'll notice the water might fizz a little, and you might even smell a faint egg-like odor. That's totally normal and actually means it's working.
- Let the jewelry sit in the solution for about 5 to 10 minutes.
- Remove the pieces, rinse them under cool water, and buff them dry with a soft cloth.
The tarnish should transfer from the silver to the aluminum foil, leaving your jewelry looking noticeably brighter. I've restored some seriously neglected silver pieces this way, including an old family heirloom bracelet that had turned almost black. It came out looking almost brand new.
Gentle Cleaner for Soft Gemstones and Delicate Pieces
Not all jewelry can handle the same kind of cleaning. Soft stones like pearls, opals, turquoise, and amber are porous and can be damaged by harsh chemicals, ammonia, or even prolonged soaking. For these pieces, you need a much milder approach.
You will need:
- 1 cup of lukewarm water
- A few drops of mild baby shampoo or gentle dish soap
- A soft cloth
Instructions:
- Mix the water and soap in a bowl.
- Dip the cloth into the solution and gently wipe down the jewelry. Don't soak soft gemstones, as too much water can seep into the stone and cause discoloration or damage.
- Use a clean, damp cloth to remove any soap residue.
- Lay the piece flat on a towel to air dry completely before storing it.
Pearls especially need special care. They're actually organic material, almost like seashells, and they can lose their luster if they're exposed to too much moisture or chemicals. I learned this the hard way with a strand of freshwater pearls that I accidentally soaked for too long. The string got weak, and one day it just snapped while I was wearing it. Now I never soak pearls. I just wipe them gently and lay them flat to dry.

Natural Jewelry Cleaner Using Common Kitchen Ingredients
If you prefer to skip the ammonia or want something even more natural, there are a couple of pantry staples that work surprisingly well for routine cleaning. White vinegar and baking soda are probably the most versatile cleaning combo you can find, and jewelry is no exception.
You will need:
- 1/2 cup of white vinegar
- 2 tablespoons of baking soda
- A small bowl
- A soft cloth
Instructions:
- Mix the vinegar and baking soda in the bowl. It will fizz up, so make sure the bowl is big enough to contain it.
- Drop your jewelry into the solution and let it soak for about 2 to 3 hours. For very dirty pieces, you can let it soak overnight.
- Remove the jewelry, rinse it under cool water, and dry it with a soft cloth.
This method works really well for gold and costume jewelry. I wouldn't recommend it for pearls or soft stones, though, since the acidity of the vinegar can be a bit too much for them. But for everyday rings and bracelets that just need a quick refresh, this is a great option. It's also super budget-friendly, since most people already have vinegar and baking soda in their kitchen.

Common Mistakes to Avoid When Making DIY Jewelry Cleaner
Even though homemade jewelry cleaners are pretty forgiving, there are a few things you'll want to steer clear of to keep your pieces looking their best.
Avoid using toothpaste as a cleaner. This is a popular tip floating around online, but toothpaste is actually mildly abrasive and can leave tiny scratches on soft metals like gold and silver. It's especially bad for plated jewelry, since the abrasives can wear away the finish.
Don't mix bleach with anything. Bleach can react badly with many metals and gemstones, causing discoloration or even permanent damage. Just keep it out of your jewelry cleaning routine entirely.
Skip the ultrasonic cleaners for delicate pieces. Those machines use high-frequency sound waves to vibrate dirt loose, but they can also shake loose stones out of their settings. If you have a piece with glued-in stones or fragile prongs, stick to gentle hand cleaning.
Never use paper towels to dry your jewelry. Paper towels can leave tiny scratches on soft metals. Always use a soft cloth, preferably microfiber or a jewelry polishing cloth.
Don't over-clean. Some people get a little overzealous and clean their jewelry every single day. This can actually wear down finishes over time, especially on plated pieces. For most jewelry, a gentle cleaning once every few weeks is plenty.

How to Store Jewelry After Cleaning to Keep It Sparkling Longer
Cleaning is only half the battle. How you store your jewelry after cleaning can make a huge difference in how long it stays shiny. Here are a few simple habits that have helped me keep my pieces looking great between cleanings.
- Store silver pieces in anti-tarnish bags or wrapped in a soft cloth. These bags contain special materials that slow down the chemical reaction that causes tarnish.
- Keep jewelry away from humidity. Bathrooms are actually one of the worst places to store jewelry because of the moisture in the air. A bedroom dresser or closet is a much better option.
- Separate your pieces to prevent scratching. Diamonds, for example, can scratch gold and other softer metals if they're piled together. Small individual pouches or a jewelry box with compartments works great.
- Put jewelry on last when getting ready. Lotions, perfumes, hairspray, and makeup can all leave residue on jewelry. By putting your pieces on after you've finished your beauty routine, you can reduce how often you need to clean them.
- Take jewelry off before swimming, showering, or working out. Chlorine, salt water, sweat, and soaps can all dull finishes and damage certain stones. I have a little dish by my front door where I drop my rings and earrings as soon as I get home. It makes it so much easier to remember.
Frequently Asked Questions About Homemade Jewelry Cleaner
Can I use vinegar to clean all types of jewelry?
Vinegar works well for gold, silver, and most hard gemstones, but it should be avoided on soft, porous stones like pearls, opals, and turquoise. The acidity can damage or discolor these materials over time. Stick to mild soap and water for delicate pieces.
How often should I clean my jewelry at home?
For everyday pieces like wedding rings or favorite earrings, a gentle cleaning every two to four weeks is usually enough. Pieces you wear less often can be cleaned every few months or as needed. Over-cleaning can wear down finishes, especially on plated jewelry.
Is it safe to use baking soda on gold?
Baking soda is generally safe for solid gold, but it can be too abrasive for gold-plated or gold-filled jewelry. The scrubbing action can wear away the thin layer of gold over time. For plated pieces, stick to a simple soap and water solution.
Can I clean jewelry with gemstones using these methods?
It depends on the gemstone. Hard stones like diamonds, sapphires, and rubies can handle most homemade cleaners. Soft or porous stones like pearls, emeralds, opals, and turquoise need gentler treatment and should never be soaked. Always research the specific stone before cleaning.
What is the best homemade solution for removing tarnish from silver?
The baking soda, salt, and aluminum foil method is one of the most effective and gentle ways to remove tarnish from silver. It uses a chemical reaction to transfer the tarnish from the silver to the foil without any scrubbing, which means less risk of scratching.
Wrapping It All Up
Making your own jewelry cleaner at home is honestly one of those small life skills that pays off in a big way. Not only does it save you money, but it also gives you more control over what touches your favorite pieces. Whether you're dealing with dull gold, tarnished silver, or just a ring that's lost its sparkle, there's a simple DIY solution that can bring back the shine without a trip to the jeweler. The trick is knowing which method to use for which type of jewelry, and taking a few extra minutes to store your pieces properly afterward. Trust me, once you start cleaning your jewelry at home, you'll wonder why you ever spent money on store-bought solutions in the first place. So go grab that dish soap and a soft toothbrush, and give your jewelry the little spa day it deserves. Your rings, necklaces, and earrings will thank you for it.